As the chill of winter sets in, there’s nothing quite like the warm, inviting glow of a homemade candle to make a house feel cozy. Engaging in DIY candle projects not only allows you to customize your home’s ambiance but also provides a fun and creative outlet.
Creating your own candles can be a rewarding experience, offering a chance to experiment with different scents, colors, and textures. With candle making tutorials readily available, you can easily get started on crafting unique candles that reflect your personal style.
Key Takeaways
- Customize your home’s ambiance with homemade candles.
- Explore different scents, colors, and textures in your candle making.
- Utilize candle making tutorials for a guided DIY experience.
- Create unique candles that reflect your personal style.
- Enjoy the warm, inviting glow of your handmade candles on chilly nights.
The Magic of Homemade Candles on Cold Evenings
As the chill of winter sets in, the warmth and glow of homemade candles become a haven for cozy evenings. According to “Real Simple,” adding candles can create a cozy atmosphere, making them a perfect addition to your home decor during the colder months.
Why DIY Candles Are Perfect for Winter
DIY candles are an excellent choice for winter because they allow you to customize the scent, color, and style to match your cozy home decor crafts. You can create scented candle diys that fill your home with inviting aromas, such as cinnamon or vanilla, making your space feel warm and welcoming.
How This Guide Will Help You Create Beautiful Candles
This guide will walk you through the process of making your own DIY candle holders and candles. You’ll learn about the essential materials needed and safety tips for candle making, ensuring that you can create beautiful and safe candles for your home.
By following this guide, you’ll be able to create unique and personalized candles that add a touch of warmth and coziness to your home during the cold winter evenings. Whether you’re looking to create a relaxing ambiance or a festive atmosphere, homemade candles are the perfect way to achieve your desired ambiance.
Essential Materials and Safety Tips for DIY Candle Making
Before diving into the world of DIY candle making, it’s crucial to understand the essential materials and safety tips required for this craft. Candle making can be a fun and rewarding hobby, allowing you to create personalized, creative candle crafts for your home or as gifts.
Basic Supplies Every Candle Maker Needs
To start making candles, you’ll need a few basic supplies. These include wax, wicks, melting pots, and colorants (if desired).
Types of Wax and Their Properties
The type of wax used can significantly affect the quality and characteristics of your candles. Common types include soy wax, beeswax, and paraffin wax, each with its own unique properties.
| Wax Type | Burn Time | Environmental Impact |
|---|---|---|
| Soy Wax | Longer burn time | Biodegradable |
| Beeswax | Long burn time | Natural, sustainable |
| Paraffin Wax | Variable burn time | Non-renewable resource |
Choosing the Right Wicks
Selecting the appropriate wick size is crucial for ensuring your candle burns evenly and efficiently.
Safety Precautions When Working with Wax
Safety should always be your top priority when working with hot wax. This includes setting up a safe workspace and handling wax carefully.
Setting Up Your Workspace
Ensure your workspace is well-ventilated, clear of flammable materials, and equipped with a fire extinguisher.
Handling Hot Wax Safely
Always use a thermometer to monitor the wax temperature, and never leave melting wax unattended.
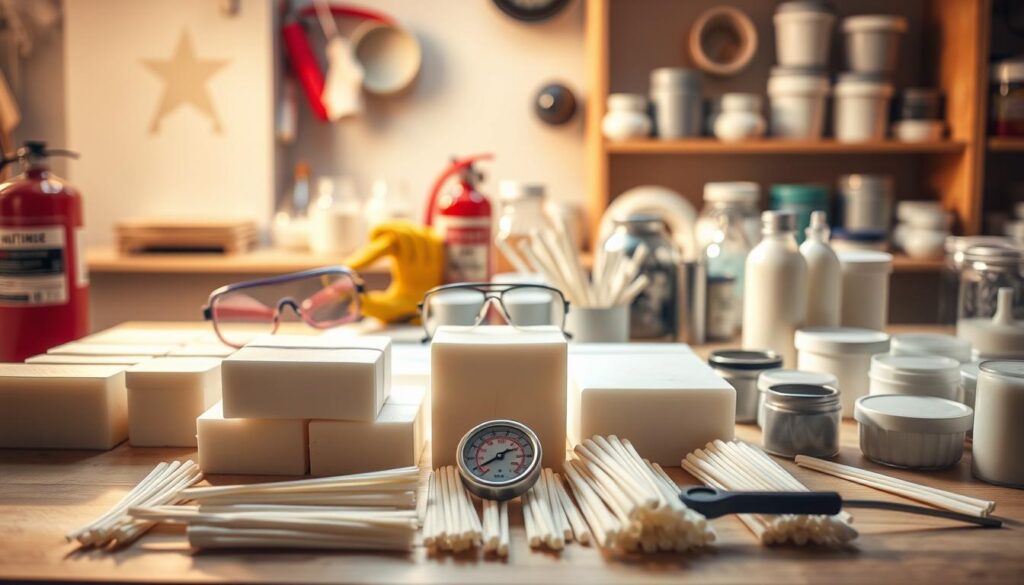
By understanding the essential materials and following safety guidelines, you can enjoy easy candle making at home and create beautiful, functional pieces.
Rustic Mason Jar Soy Candles
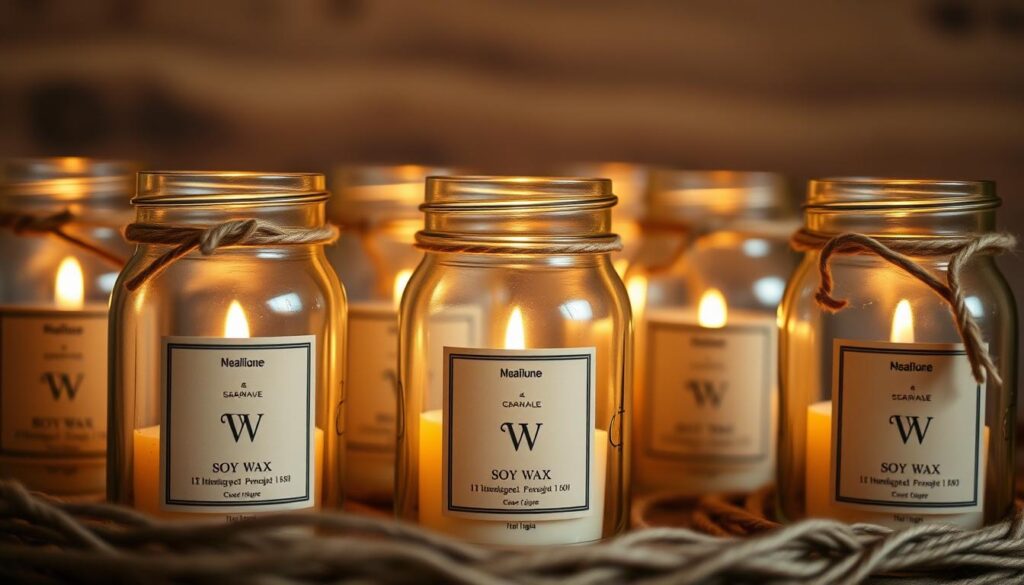
For a charming and eco-friendly candle, consider making your own rustic mason jar soy candles. This DIY project is not only fun but also results in a beautiful, unique piece that can add warmth to any room.
Materials Needed
To start, you’ll need a few basic supplies: mason jars, soy wax flakes, a wick, a melting pot, and a thermometer. You can also add optional materials like dried flowers, herbs, or essential oils for a personalized touch.
Step-by-Step Instructions
Preparing Your Mason Jars
Begin by cleaning and drying your mason jars thoroughly. This step is crucial to ensure that your candles burn evenly and safely. Make sure to remove any labels and residue before proceeding.
Melting and Pouring Techniques
Melt the soy wax flakes in a double boiler or a dedicated candle-making pot, monitoring the temperature with a thermometer. Once melted, carefully pour the wax into the prepared mason jars, making sure to leave about a quarter inch of space at the top.
Creative Variations and Decorating Ideas
Adding Dried Flowers and Herbs
To give your candles a unique and rustic look, consider adding dried flowers or herbs to the melted wax before pouring it into the jars. This not only adds a decorative element but can also provide a subtle, natural fragrance.
Rustic Twine and Label Designs
Enhance the rustic appeal of your mason jar candles by wrapping twine around the lid or adding a handmade label. These simple touches can make your candles perfect for gifting or displaying in your home.
By following these steps and tips, you can create beautiful, rustic mason jar soy candles that add a cozy ambiance to any space. Experiment with different decorations and scents to make your candles truly one-of-a-kind homemade candle ideas that reflect your personal style.
Aromatic Coffee Bean Candles
For those who love coffee, creating coffee bean candles can be a delightful DIY project. These candles are not only visually appealing but also fill your home with the rich aroma of coffee, making them perfect for cozy nights.

Materials Needed
To start, you’ll need the following materials:
- Coffee beans
- Wax (soy or beeswax)
- Candle wick
- Melting pot
- Thermometer
- Fragrance oils (optional)
Step-by-Step Instructions
Creating coffee bean candles involves two main steps: creating the coffee bean layer and adding the wax layer.
Creating the Coffee Bean Layer
Begin by preparing your coffee beans. You can use whole beans or grind them slightly to release more fragrance. Arrange the coffee beans at the bottom of your candle mold, creating a layer.
Adding the Wax Layer
Melt the wax in a melting pot to the appropriate temperature (around 180°F to 200°F). Once melted, carefully pour the wax over the coffee bean layer, ensuring that the beans are fully covered. Allow the wax to cool and harden.
Scent Combinations and Presentation Tips
To enhance your coffee bean candles, consider complementary fragrances and creative gift packaging.
Complementary Fragrances for Coffee
Combine coffee with other scents like vanilla or hazelnut to create a unique fragrance. Experimenting with different blends can lead to a signature scent that stands out.
Gift Packaging Ideas
Package your coffee bean candles in decorative jars or bags, adding a personal touch with labels or ribbons. This makes them thoughtful gifts for friends and family.
Elegant Teacup Candles
Creating candles in vintage teacups is a charming DIY project that combines home decor with a personal touch. This unique craft allows you to repurpose old teacups into beautiful candle holders, adding a cozy ambiance to any room.
Materials Needed
To start, you’ll need a few basic supplies. These include:
- Vintage teacups (ensure they are heat-resistant)
- Candle wax (available in various colors and types)
- Wick tabs or pre-tabbed wicks
- Melting pot
- Thermometer
- Spoon or pouring pot
- Optional: decorative items like ribbons or beads
Step-by-Step Instructions
Follow these steps to create your elegant teacup candles:
Preparing Vintage Teacups
Before you begin, make sure your teacups are clean and dry. If they’re particularly delicate, consider using a gentle cleaning method to avoid damage.
Centering Wicks Properly
To ensure your wick is centered, use a wick tab and attach it to the bottom of the teacup. Then, carefully pour the melted wax around the wick, making sure it’s straight and centered.
| Material | Purpose |
|---|---|
| Vintage Teacups | Candle Holder |
| Candle Wax | Main Component of the Candle |
| Wick Tabs | Stabilize the Wick |
Vintage Teacup Selection and Display Ideas
Choosing the right teacup is crucial for the overall look of your candle. Consider teacups with delicate patterns or unique designs.
Creating Teacup Candle Sets
To create a cohesive look, select teacups that match or complement each other. You can also add decorative saucers and tea sets to enhance the display.
Incorporating Saucers and Tea Sets
Using saucers and tea sets with your teacup candles can add an extra layer of elegance. Arrange them on a decorative tray or shelf to create a beautiful vignette.
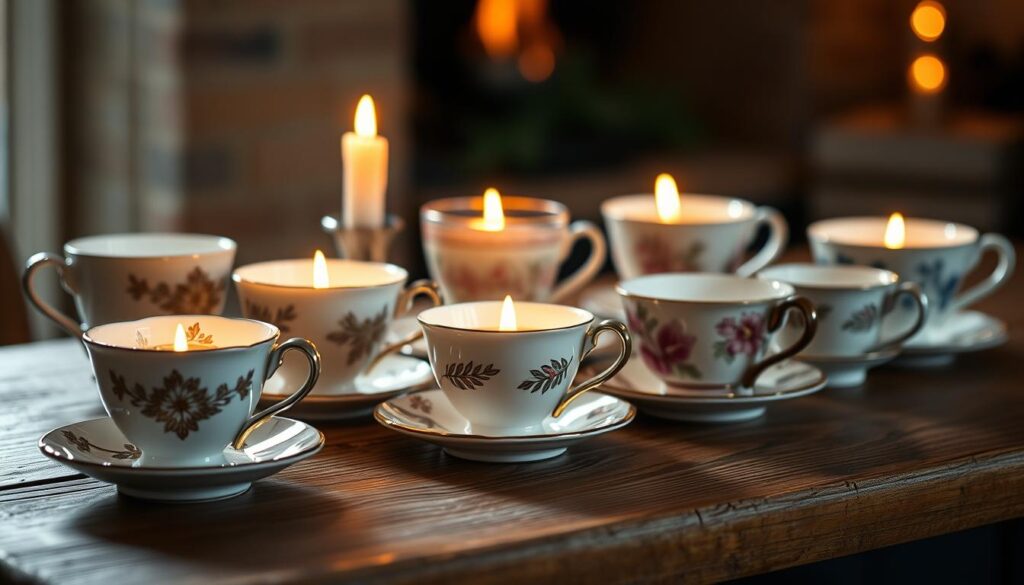
By following these steps and tips, you can create beautiful, elegant teacup candles that add a touch of warmth and sophistication to your home decor. Whether you’re looking for a unique DIY project or a special gift, teacup candles are sure to impress.
Natural Beeswax Pillar Candles
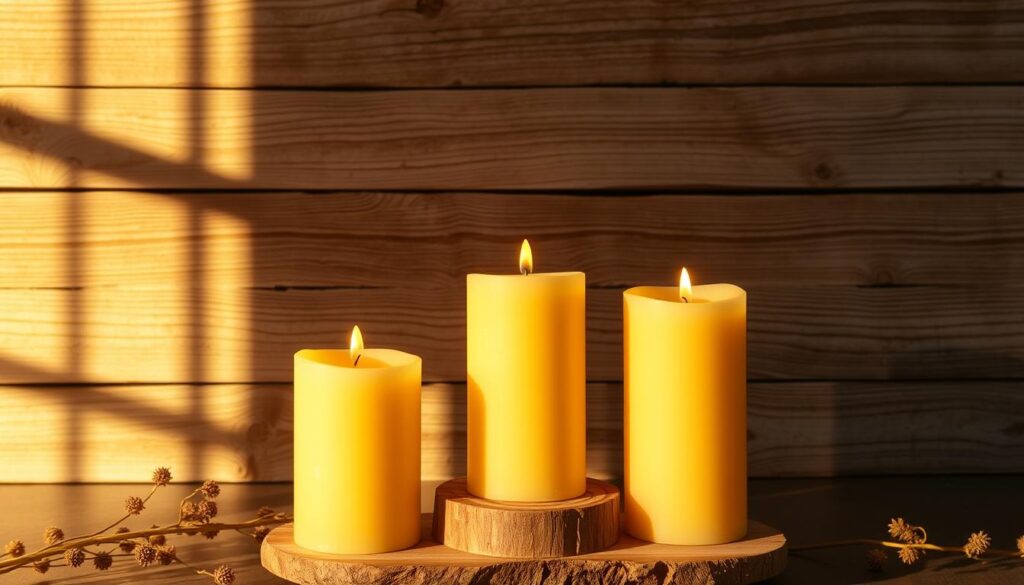
Creating natural beeswax pillar candles is a delightful DIY project that brings warmth and coziness to any space. This easy candle making at home project allows you to craft beautiful, eco-friendly candles that are perfect for chilly nights.
Materials Needed
To start, you’ll need a few basic supplies:
- Beeswax pellets or blocks
- Pillar candle molds
- Wick tabs or pre-tabbed wicks
- Melting pot
- Thermometer
- Colorants (optional)
Step-by-Step Instructions
Follow these steps to create your natural beeswax pillar candles:
- Melt the beeswax in a double boiler or dedicated melting pot.
- Monitor the temperature with a thermometer.
- Prepare the mold by securing the wick.
- Pour the melted wax into the mold.
Using Pillar Molds Effectively
Ensure the mold is clean and dry before use. Using a mold release spray can help with unmolding.
Unmolding Techniques
Allow the wax to cool completely. Flex the mold gently to release the candle.
Adding Natural Elements and Colors
You can enhance your candles with natural elements and colors. Consider using beeswax sheets or natural dyes.
Working with Beeswax Sheets
Beeswax sheets can be wrapped around the candle for a textured look.
Natural Dye Options
Explore natural dyes like plant extracts for unique colors.
| Material | Purpose |
|---|---|
| Beeswax | Main component of the candle |
| Pillar molds | Shape the candle |
| Wick tabs | Secure the wick |
By following these steps and tips, you can create beautiful homemade candle ideas that add a touch of warmth and elegance to your home. Experiment with different molds, colors, and natural elements to make your candles truly unique creative candle crafts.
7 DIY Candle Projects for Cozy Nights: Citrus Peel Candles
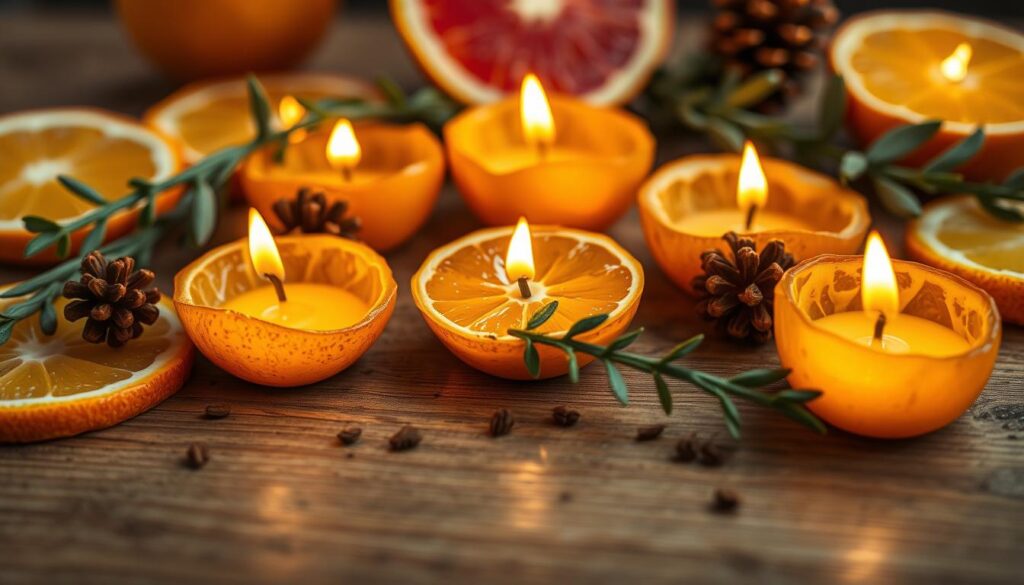
Transform your home into a cozy haven with the bright, citrusy scent of homemade citrus peel candles. This unique DIY project combines the warmth of candlelight with the invigorating aroma of citrus, creating a perfect ambiance for chilly nights.
Materials Needed
To start making your citrus peel candles, you’ll need the following materials:
- Citrus peels (orange, lemon, or grapefruit)
- Wax (soy or beeswax)
- Candle wick
- Melting pot
- Thermometer
- Colorants (optional)
- Fragrance oils (optional)
Step-by-Step Instructions
Preparing Citrus Peels
Begin by drying the citrus peels thoroughly. You can air-dry them or use a dehydrator on a low setting. Once dry, chop the peels into small pieces to release their oils and fragrance.
Filling and Setting
Melt the wax in a double boiler or a dedicated candle-making pot to the appropriate temperature. Add the chopped citrus peels to the melted wax and stir well. Pour the mixture into a candle mold, ensuring the wick is centered. Allow the wax to cool and harden completely.
Seasonal Variations and Scent Options
Winter Citrus Combinations
For a winter-themed candle, combine orange and cinnamon for a warm, spicy scent. Alternatively, blend lemon and eucalyptus for a refreshing, decongesting aroma.
Adding Spices for Extra Warmth
Consider adding spices like cinnamon sticks, cloves, or nutmeg to the melted wax for an extra layer of warmth and fragrance. This not only enhances the scent but also adds a decorative element to the candle.
| Citrus Type | Recommended Spice | Resulting Scent |
|---|---|---|
| Orange | Cinnamon | Warm, spicy |
| Lemon | Eucalyptus | Refreshing, decongesting |
| Grapefruit | Nutmeg | Invigorating, slightly sweet |
By following these steps and experimenting with different citrus and spice combinations, you can create unique citrus peel candles that add a cozy and inviting ambiance to your home.
Decorative Ice Candles
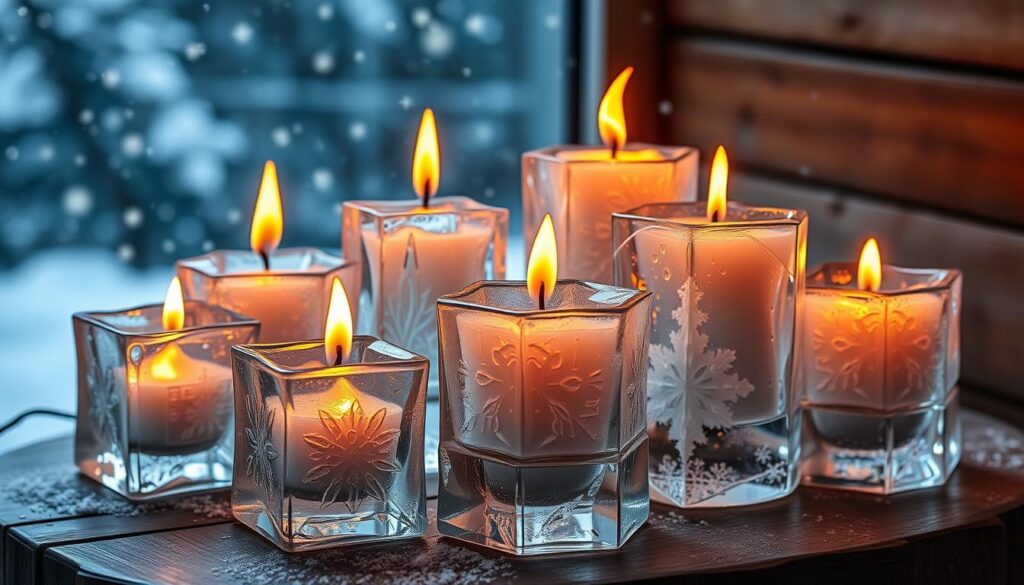
Bringing a touch of winter wonder indoors, decorative ice candles are a stunning and creative candle crafting idea. These unique candles can add a beautiful ambiance to your home during the cold winter months.
Materials Needed
To create decorative ice candles, you’ll need a few basic materials, including water, a container to shape your candle, wax, a wick, and optional decorative elements like food coloring or glitter.
Step-by-Step Instructions
Creating decorative ice candles involves a few simple steps. First, fill your chosen container with water and add any desired decorative elements. Next, place the container in the freezer until the water is frozen solid. Then, melt the wax and carefully pour it into the container, making sure not to overflow. Finally, insert the wick and allow the wax to cool and harden.
Creating Ice Textures
Experimenting with different ice textures can add an extra layer of visual interest to your decorative ice candles. Try adding a few drops of food coloring to the water before freezing, or use a fork to create unique patterns on the surface of the ice.
Layering Techniques
Layering different colors or textures of wax can create a beautiful, multi-dimensional effect in your ice candles. To achieve this, simply pour different layers of wax into the container, allowing each layer to cool and harden before adding the next.
Color and Shape Variations
One of the joys of making decorative ice candles is the ability to experiment with different colors and shapes. Try using different containers to create unique shapes, or add a few drops of essential oil to the melted wax for a subtle scent.
Using Different Containers
The container you choose can greatly impact the final appearance of your decorative ice candle. Consider using vintage teacups, mason jars, or other unique containers to add an extra touch of personality to your candle.
Seasonal Color Schemes
To make your decorative ice candles truly seasonal, consider using a winter-inspired color scheme, such as icy blues and whites, or warm reds and oranges. You can also add a few sprigs of evergreen or holly to the melted wax for a festive touch.
Recycled Wine Bottle Candles
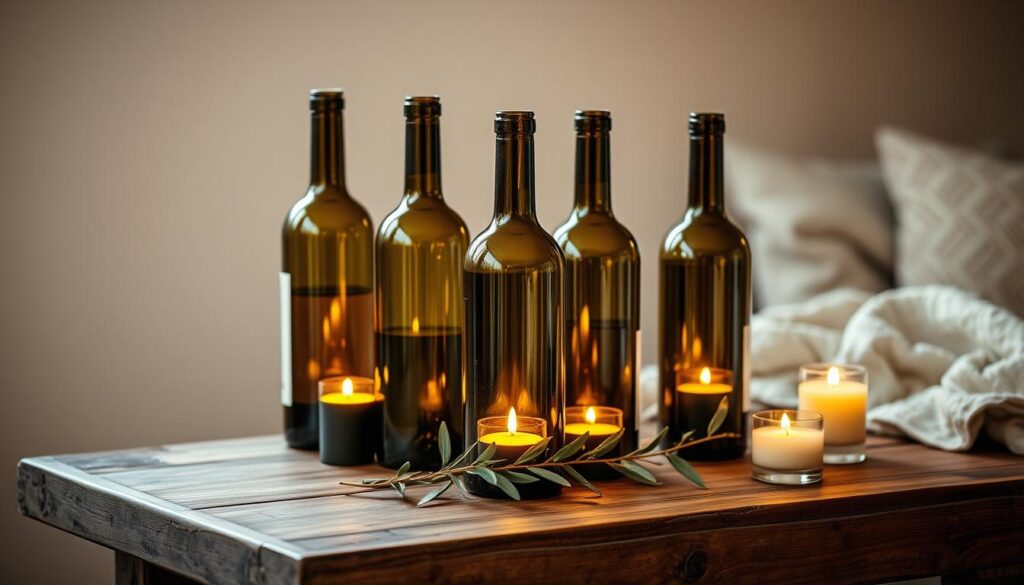
Breathe new life into discarded wine bottles by converting them into unique candle holders. This eco-friendly DIY project not only reduces waste but also adds a touch of elegance to your home decor. With a little creativity, you can transform these bottles into beautiful pieces that reflect your personal style.
Materials Needed
To start your project, you’ll need the following materials:
- Empty wine bottles
- Candle wax or tea lights
- Glass cutter or a diamond blade glass saw
- Sandpaper or a glass grinder
- Decorative items (optional)
Step-by-Step Instructions
Follow these steps to create your recycled wine bottle candles:
Cutting Glass Bottles Safely
To cut the glass bottle safely, use a glass cutter to score the glass where you want it to break. Then, use a method like applying heat or cold to help the glass separate along the score line.
Smoothing Rough Edges
After cutting the bottle, use sandpaper or a glass grinder to smooth out any rough edges. This step is crucial for safety and aesthetics.
Creative Display Options
Once you’ve prepared your wine bottle candle holders, it’s time to think about how to display them. Here are a few ideas:
Hanging Designs
You can hang your candle holders from the ceiling or a hook using twine or wire. This creates a beautiful, floating effect that adds ambiance to any room.
Table Centerpiece Arrangements
Arrange your wine bottle candles on a table with other decorative elements like flowers, pebbles, or greenery to create a stunning centerpiece.
As “The art of simplicity is a puzzle.” – Turning old into new not only reduces waste but also brings a unique charm to your home. With these DIY candle holders, you can enjoy a cozy atmosphere while being eco-friendly.
Troubleshooting Common DIY Candle Making Problems
Even with careful planning, DIY candle making projects can encounter problems that affect their quality and performance. Understanding how to troubleshoot these issues is crucial for achieving professional-looking results.
Fixing Uneven Burning
Uneven burning can be caused by an improperly sized wick or uneven cooling of the candle. To fix this, ensure that you’re using the correct wick size for your candle diameter. Trimming the wick to 1/4 inch before each use can also help maintain an even burn.
Addressing Tunneling Issues
Tunneling occurs when a candle burns down the center but leaves wax on the sides. To prevent this, make sure the candle burns long enough for the wax to melt across the entire surface during the first burn. Using a larger wick or increasing the burn time can also help.
| Issue | Cause | Solution |
|---|---|---|
| Uneven Burning | Improper wick size, uneven cooling | Use correct wick size, trim wick |
| Tunneling | Insufficient burn time | Increase burn time, use larger wick |
| Weak Scent Throw | Insufficient fragrance, incorrect wax type | Use more fragrance, choose right wax |
Solutions for Weak Scent Throw
If your candle doesn’t have a strong enough scent, it might be due to using too little fragrance or the wrong type of wax. Using the appropriate wax for your fragrance and ensuring you’re using the recommended amount of fragrance oil can improve scent throw.
Preventing Air Bubbles and Sinkholes
Air bubbles and sinkholes can occur when the wax cools too quickly or isn’t properly poured. To prevent these issues, pour the wax at the right temperature and avoid cooling the candle too quickly.
Conclusion: Illuminating Your Space with Handcrafted Warmth
Creating your own candles can be a truly rewarding experience, bringing warmth and coziness to your home. The 7 diy candle projects for cozy nights outlined in this guide offer a range of homemade candle ideas to suit any style or decor. From rustic mason jar soy candles to elegant teacup candles, each project is designed to help you craft unique and inviting pieces for your home.
By exploring these cozy home decor crafts, you can add a personal touch to your living space and enjoy the soft, warm glow of handcrafted candles. Whether you’re looking to relax on a chilly evening or create a welcoming atmosphere for guests, these DIY candle projects are sure to illuminate your space with handcrafted warmth.


