Composting is an easy and cost-effective practice that any household can adopt. By creating a homemade compost bin, you can reduce waste and produce nutrient-rich soil for your garden.
It’s surprisingly straightforward to get started with composting at home. With supplies mostly already on hand, making a compost bin can be a fun and rewarding DIY project.
By following this guide, you’ll learn how to create a compost bin that suits your needs and start enjoying the benefits of easy composting at home.
Key Takeaways
- Create a homemade compost bin with minimal investment
- Reduce household waste through composting
- Produce nutrient-rich soil for your garden
- Start composting with supplies you likely already have
- Customize your compost bin to suit your needs
The Benefits of Home Composting
The practice of home composting provides multiple advantages, from environmental conservation to economic savings. By turning waste into a valuable resource, homeowners can contribute to a more sustainable lifestyle while improving their garden’s health.
Environmental Impact of Composting
Composting significantly reduces the amount of organic waste sent to landfills, thereby decreasing greenhouse gas emissions. Eco-friendly composting practices help in recycling organic materials, turning them into nutrient-rich soil amendments. This process not only reduces waste but also aids in mitigating climate change.
According to the United States Environmental Protection Agency (EPA), composting can divert a significant portion of municipal solid waste from landfills. By adopting DIY composting systems, homeowners can play a crucial role in this effort.
| Benefits | Description | Impact |
|---|---|---|
| Reduced Landfill Waste | Composting decreases the volume of organic waste sent to landfills. | Lowers greenhouse gas emissions. |
| Conservation of Resources | Turning waste into compost conserves landfill space and reduces the need for synthetic fertilizers. | Promotes sustainable living. |
| Soil Erosion Prevention | Compost improves soil structure, enhancing its water-holding capacity and aeration. | Reduces soil erosion and improves plant health. |
Financial Benefits for Homeowners
Home composting can lead to significant financial savings for homeowners. By reducing the need for chemical fertilizers and improving soil quality, composting can enhance plant growth and reduce gardening expenses. Additionally, composting can help reduce waste disposal costs.
Improving Your Garden Soil Quality
Compost enriches the soil with essential nutrients, improves its structure, and supports beneficial microbial activity. This results in healthier plants, improved soil fertility, and a more resilient garden ecosystem.
By integrating compost into their gardening routine, homeowners can create a more sustainable and productive garden, reaping the rewards of their DIY composting system.
Understanding the Composting Process
For beginners, understanding the composting process is key to successful kitchen scrap composting. Composting involves breaking down organic materials into a nutrient-rich product that can enhance soil quality and support healthy plant growth.
The Science Behind Decomposition
Decomposition is a natural process where microorganisms like bacteria and fungi break down organic matter into simpler compounds. This process is facilitated by factors such as oxygen, moisture, and temperature. Understanding the science behind decomposition helps in creating an optimal environment for composting.
Brown vs. Green Materials
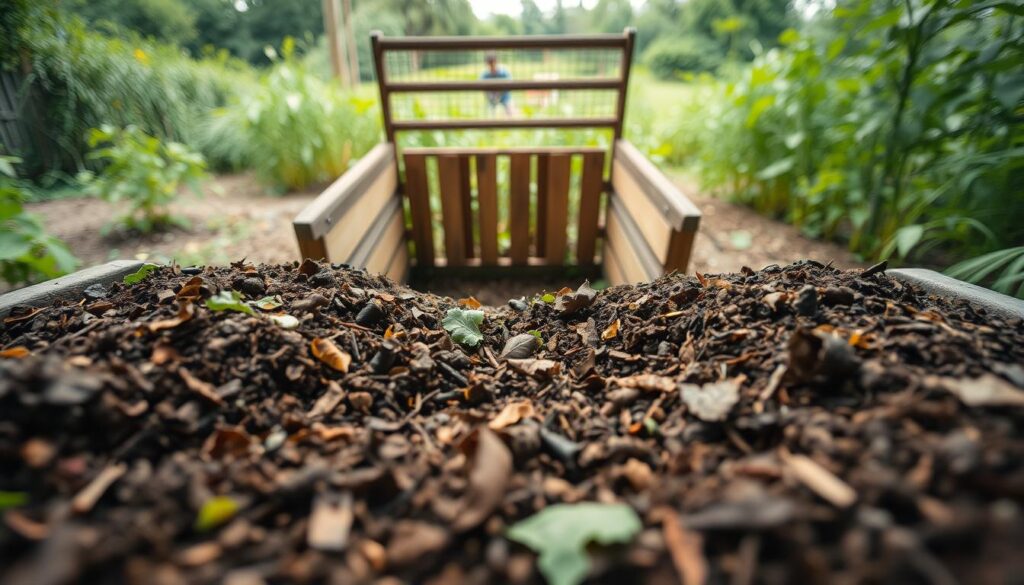
A crucial aspect of the composting process is balancing brown materials (carbon-rich) and green materials (nitrogen-rich). Brown materials include dried leaves and straw, while green materials comprise kitchen scraps and grass clippings. A mix of both is necessary for efficient decomposition.
The Role of Microorganisms
Microorganisms play a vital role in breaking down organic matter. They thrive in environments with adequate moisture, oxygen, and nutrients. By maintaining optimal conditions, you can enhance the activity of these microorganisms, leading to faster composting.
By grasping these fundamental aspects of the composting process, beginners can set themselves up for success in creating a nutrient-rich compost for their gardens.
Materials Needed for Your DIY Simple Compost Bin
Building a DIY simple compost bin is an exciting project that starts with selecting the right materials. To create an effective composting system, you’ll need to gather a few essential tools and supplies.
Essential Tools and Supplies
The foundation of your compost bin will depend on the materials you choose. Here are the essentials:
Building Materials
For the structure of your compost bin, consider using:
- Wooden Pallets: Pallets are a popular choice because they’re often readily available and inexpensive.
- Wire Fencing: Wire fencing can be used to create a simple and effective enclosure.
- Plastic Totes: Plastic bins are durable and can be easily repurposed as compost bins.
Tools Required
To assemble your compost bin, you’ll need:
- Hammer: For tapping pallets or other materials into place.
- Wire Cutters: For cutting wire fencing to the desired size.
- Drill: For making holes for ventilation and drainage.
Optional Materials for Enhanced Efficiency
To optimize your composting process, consider adding:
- Aeration Materials: Such as straw or coconut coir, to improve airflow.
- Moisture Control: Materials like a tarp or lid to regulate moisture levels.
Budget-Friendly Alternatives
If you’re on a tight budget, consider these alternatives:
| Material | Cost-Effective Alternative |
|---|---|
| Wooden Pallets | Reclaimed Wood |
| Wire Fencing | Old Chicken Wire |
| Plastic Bins | Old Trash Cans |
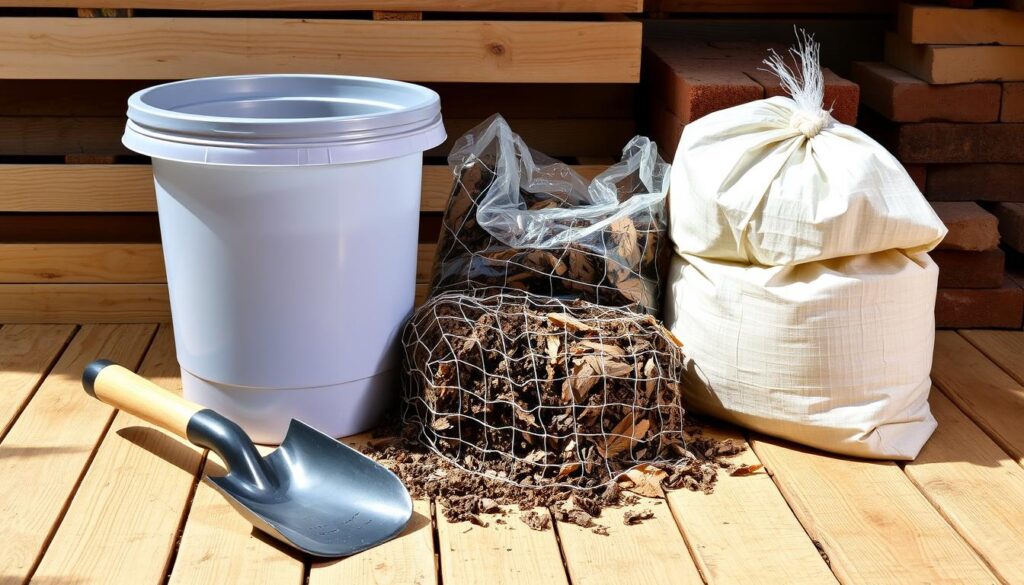
By choosing the right materials and tools, you’ll be well on your way to creating a functional and efficient DIY simple compost bin.
Step-by-Step Guide to Building a DIY Simple Compost Bin
A DIY simple compost bin is a great way to reduce waste and create nutrient-rich soil for your garden, and building one is easier than you might think. With a few basic materials and some straightforward instructions, you can have your compost bin up and running in no time.
Selecting the Perfect Location
The first step in building your DIY simple compost bin is to choose the right location. Ideally, you want a spot that is well-ventilated, accessible, and out of direct sunlight. Ensure the location is level to prevent your compost from becoming too wet or dry. Consider placing your compost bin in a corner of your yard or near a garden bed to make it easy to add materials and turn the compost.
Preparing the Foundation
Once you’ve selected the perfect location, it’s time to prepare the foundation. Start by clearing the area of any debris and leveling the ground. If you’re building on a slope, consider creating a level base using stones or gravel. This will help ensure that your compost bin remains stable and functional.
Assembling the Structure
With the foundation prepared, you can begin assembling your compost bin. The exact steps will depend on the design you’ve chosen, but most DIY simple compost bins involve connecting the sides and creating a secure lid.
Connecting the Sides
To connect the sides of your compost bin, you’ll typically use screws, nails, or wire. Make sure the corners are secure and the structure is sturdy. Use durable materials that can withstand the elements and the weight of the compost.
Creating a Secure Lid
A secure lid is essential for maintaining the right conditions inside your compost bin. It helps to retain heat, keep out pests, and prevent odors from escaping. Consider adding a latch or hinge to make it easy to open and close.
Adding Ventilation and Drainage
Proper ventilation and drainage are crucial for effective composting. Drill holes in the sides and bottom of your compost bin to ensure airflow and excess moisture can escape. This will help to prevent anaerobic conditions and reduce the risk of odors.
| Feature | Importance | Tips for Implementation |
|---|---|---|
| Ventilation | High | Drill holes in the sides and back of the bin. |
| Drainage | High | Drill holes in the bottom of the bin and consider adding a layer of gravel. |
| Lid Security | Medium | Use a latch or lock to keep the lid closed. |
As
“Composting is a natural process that turns organic materials into a valuable resource for your garden.”
, making it an essential practice for any gardener or environmentally conscious homeowner.
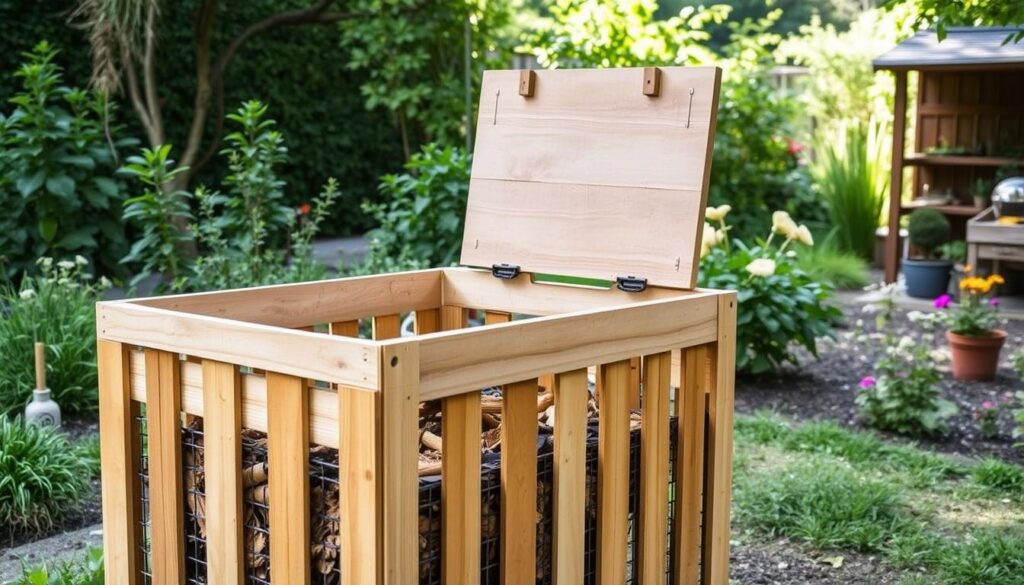
By following these steps and tips, you can build a DIY simple compost bin that meets your needs and helps you create rich, fertile soil for your garden. Happy composting!
Different Types of DIY Compost Bins
The world of DIY compost bins is diverse, offering numerous options for homeowners to turn their waste into valuable compost. When choosing a composting method, it’s essential to consider the space available, the amount of waste to be composted, and the desired level of maintenance.
Wooden Pallet Compost Bins
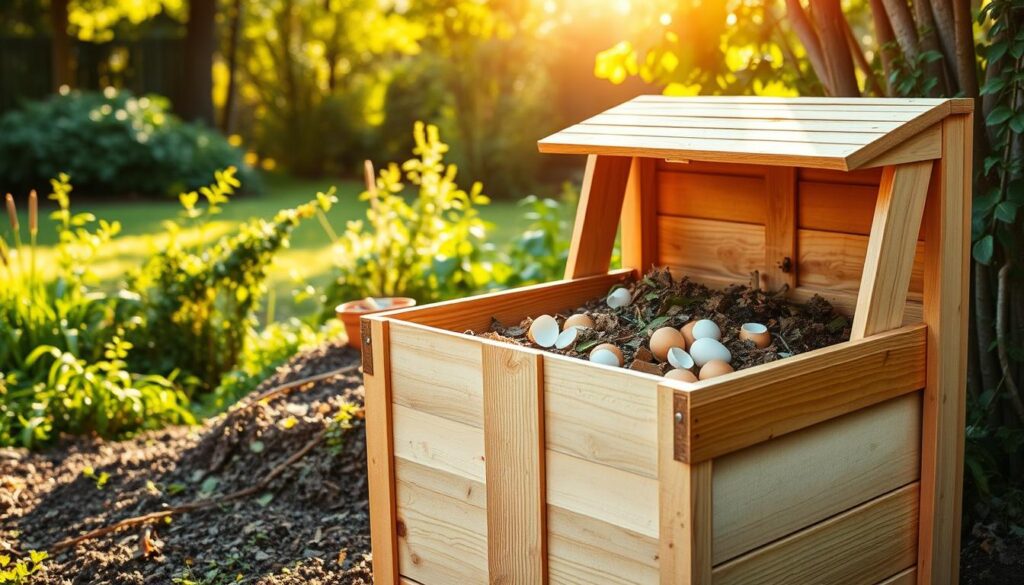
Wooden pallet compost bins are a popular choice for DIY composting systems. They are cost-effective and can be easily constructed using readily available materials. Pallets can be arranged to form a bin of desired size, and their slatted design allows for good airflow, which is crucial for the composting process.
Wire Mesh Composters
Wire mesh composters are another efficient option for homemade compost bins. They are simple to set up and provide excellent aeration, helping to speed up the decomposition process. Wire mesh composters can be easily shaped to fit available spaces and are a great choice for those with limited room.
Plastic Bin Systems
For those preferring a more contained approach, plastic bin systems offer a neat and tidy solution for eco-friendly composting. These bins are often rodent-proof and can be easily moved or repositioned as needed. They come in various sizes, making them suitable for different scales of composting.
Tumbler Composters
Tumbler composters are a user-friendly option that simplifies the composting process. They are designed to be turned regularly, which helps aerate the compost pile and speed up decomposition. Tumbler composters are ideal for those who want to minimize the effort required to maintain their compost.
Each of these DIY compost bin types has its advantages, and the best choice depends on individual needs and preferences. By selecting the right composting method, homeowners can enjoy the benefits of eco-friendly composting and contribute to a more sustainable lifestyle.
What to Compost: Green and Brown Materials
Effective composting starts with knowing what kitchen scraps and yard waste to compost. Composting involves adding green materials like kitchen scraps and yard waste, and brown materials like dry leaves and straw.
Kitchen Scraps You Can Add
Kitchen scraps are a valuable source of green materials for your compost. You can add fruit and vegetable peels, tea bags, coffee grounds, and eggshells. These materials are rich in nitrogen, which is essential for the composting process.
Yard Waste for Composting
Yard waste, including leaves, grass clippings, and branches, can be composted. Brown leaves are considered brown materials, high in carbon, while grass clippings are green materials, rich in nitrogen.
Materials to Avoid
Not everything can be composted. It’s crucial to know what to avoid.
Harmful Items
Avoid adding meat, dairy, and oily foods to your compost, as they attract pests and create unpleasant odors. Also, avoid composting weeds with seeds, as they can propagate in your compost.
Common Misconceptions
Some believe that composting is too complicated or that certain materials like paper can’t be composted. However, paper products like cardboard and newspaper can be composted and are considered brown materials.
| Material Type | Examples | Composting Value |
|---|---|---|
| Green Materials | Kitchen scraps, grass clippings | High in Nitrogen |
| Brown Materials | Dry leaves, straw, cardboard | High in Carbon |
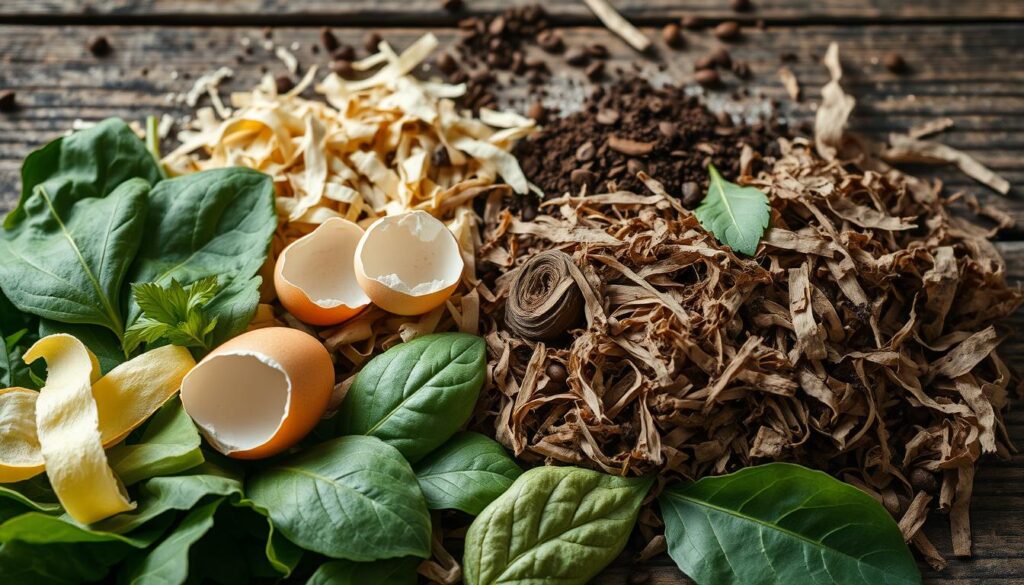
By understanding what to compost and what to avoid, you can create a nutrient-rich soil amendment for your garden through kitchen scrap composting and organic waste recycling.
Maintaining Your Homemade Compost Bin
Maintaining your homemade compost bin is a straightforward process that requires attention to a few key factors. By following some simple guidelines, you can ensure your compost remains healthy and productive throughout the year.
Proper Layering Techniques
One of the fundamental aspects of compost maintenance is proper layering. Start with a 4-6 inch layer of brown materials, such as dried leaves or shredded newspaper, at the bottom of your DIY simple compost bin. This helps with airflow and carbon-rich foundation. Next, add a layer of green materials like kitchen scraps or grass clippings. Continue alternating between brown and green layers, ending with a brown layer on top.
Turning and Aerating Your Compost
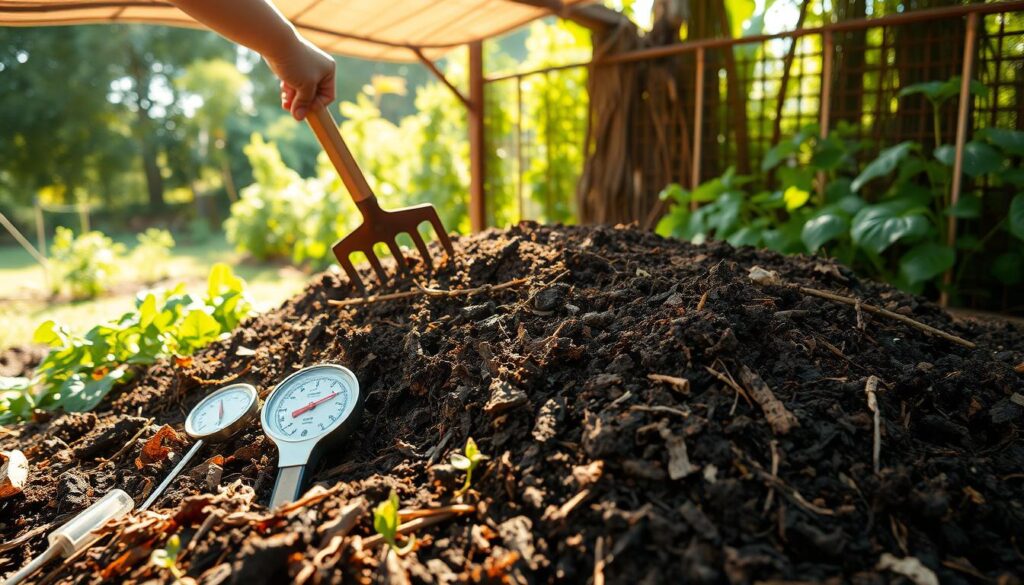
Regular turning is essential for maintaining oxygen flow and speeding up decomposition. Use a pitchfork to gently turn the compost pile every 7-10 days. This helps prevent matting and ensures all materials decompose evenly. For easy composting at home, it’s crucial to aerate your compost regularly.
Managing Moisture Levels
The compost pile should be kept moist, like a damp sponge. Excessive dryness or wetness can hinder the decomposition process. Check the moisture by squeezing a handful of compost; if it feels dry, add some water. If it’s too wet, add more brown materials to absorb the excess moisture.
Seasonal Maintenance Tips
Compost maintenance also involves adapting to seasonal changes. In colder months, consider insulating your compost bin with straw or tarp to retain heat. During warmer months, ensure your compost doesn’t dry out by regularly checking its moisture levels. By following these tips, you’ll be well on your way to easy composting at home with your DIY simple compost bin.
Troubleshooting Common Composting Problems
Despite the benefits of composting, many gardeners face common problems that can be resolved with the right troubleshooting techniques. Composting is a natural process, but it requires balance and maintenance to function effectively.
Dealing with Odors
Unpleasant odors from your compost pile often indicate an imbalance in the decomposition process. To mitigate this, ensure you’re adding the right mix of green and brown materials. Green materials like kitchen scraps are high in nitrogen, while brown materials like dried leaves provide carbon.
Managing Pests and Unwanted Visitors
Pests can be attracted to your compost if it’s not properly maintained. Ensure your compost pile is turned regularly and that you’re not adding meat or dairy products, which can attract unwanted visitors.
Addressing Slow Decomposition
If your compost is decomposing slowly, it may be due to a lack of nitrogen or insufficient aeration. Check your carbon-to-nitrogen ratio and turn the pile to introduce more oxygen.
Fixing a Too Wet or Too Dry Compost Pile
Moisture issues can significantly impact your compost’s effectiveness. 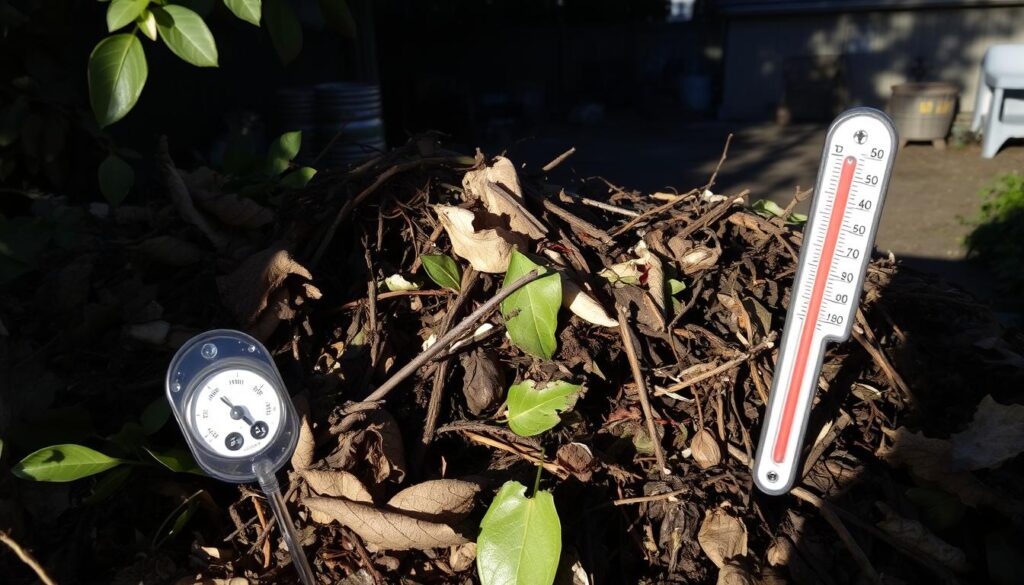 Aim for a consistency like a damp sponge. If it’s too wet, add brown materials; if it’s too dry, add water or green materials.
By addressing these common composting problems, you can ensure your DIY composting system operates efficiently, providing nutrient-rich soil for your garden.
Harvesting and Using Your Finished Compost
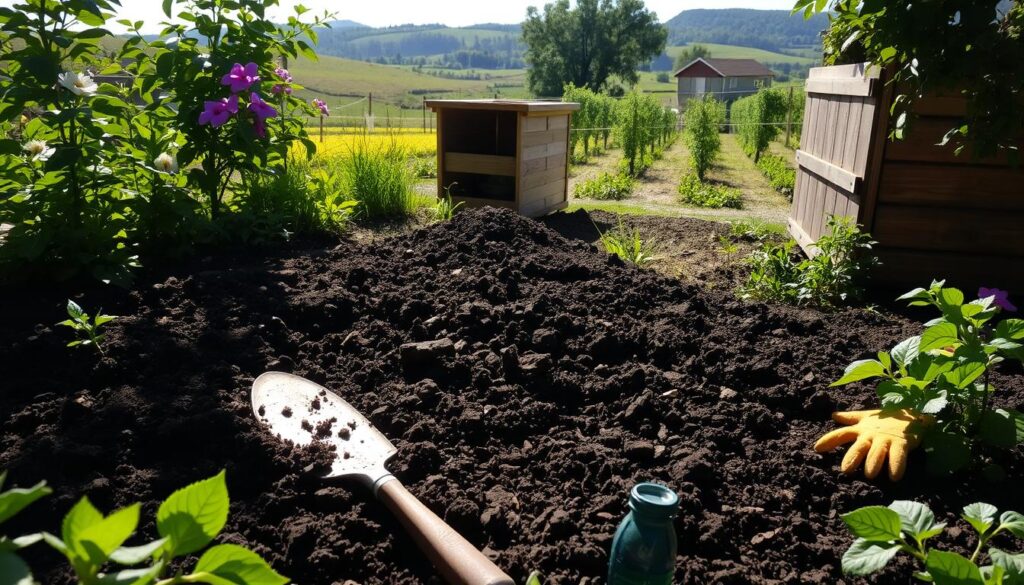
With your compost bin fully matured, it’s time to harvest and apply the nutrient-rich soil amendment to your garden. This final step in the composting process is crucial for maximizing the benefits of your efforts.
How to Know When Compost is Ready
Finished compost is characterized by its dark color, crumbly texture, and earthy aroma. It should be free of recognizable pieces of the original materials, except for a few bits of wood or other slow-decomposing elements.
Sifting and Storing Techniques
To ensure your compost is ready for use, sift it through a wire mesh or a compost sifter to remove any lumps or unfinished pieces. Store the finished compost in a dry, covered area to preserve its quality.
Best Ways to Apply Compost in Your Garden
Finished compost can be used in various garden settings, including vegetable gardens, flower beds, lawns, and potted plants.
Vegetable Gardens
Mix 2-4 inches of compost into the top 6-8 inches of soil to improve its structure and fertility.
Flower Beds and Lawns
Use compost as a top dressing, applying a thin layer (1-2 inches) around plants and mixing it into the soil gently.
Potted Plants
Mix 10-20% compost into the potting soil to enhance its water-holding capacity and nutrient content.
| Garden Use | Application Method | Compost Quantity |
|---|---|---|
| Vegetable Gardens | Mix into soil | 2-4 inches |
| Flower Beds and Lawns | Top dressing | 1-2 inches |
| Potted Plants | Mix into potting soil | 10-20% |
Conclusion: Embracing Sustainable Living Through Composting
By adopting eco-friendly composting practices, individuals can significantly contribute to sustainable living. Creating a DIY simple compost bin is a straightforward and effective way to reduce waste while producing a valuable resource for gardening. This guide has walked you through the process of building and maintaining a compost bin, from understanding the composting process to harvesting your finished compost.
Composting is a key aspect of sustainable living, allowing you to turn kitchen scraps and yard waste into nutrient-rich soil. By incorporating composting into your gardening routine, you’ll not only reduce your environmental footprint but also improve the quality of your garden soil. As you embark on this eco-friendly journey, you’ll be joining a community of individuals committed to sustainable living practices.
With a DIY simple compost bin, you’ll be taking a significant step towards reducing waste and promoting eco-friendly composting. By following the steps outlined in this guide, you’ll be well on your way to creating a sustainable gardening practice that benefits both you and the environment.


