Transforming your home has never been easier. With a few simple materials, you can create stunning pieces that add warmth and personality to any room. Whether you’re a beginner or a seasoned crafter, these projects are designed for all skill levels.
Two standout techniques include wax sheet cutouts and napkin transfers. Both methods require no drawing skills, making them perfect for anyone. Plus, they’re budget-friendly and let you reuse materials you already have.
These crafts adapt beautifully to any season. From Halloween to Christmas, you can customize them to match your decor. Best of all, most projects take less than an hour, so you’ll see results fast.
Key Takeaways
- Simple techniques like wax sheets and napkin transfers make crafting easy.
- No artistic skills are needed for these projects.
- Perfect for seasonal themes and quick updates.
- Affordable materials help keep costs low.
- Fast results—most take under an hour.
Introduction to DIY Decorative Candle Ideas
You don’t need artistic skills to create stunning centerpieces. A chance online purchase of colored wax sheets sparked my journey into crafting. The results looked store-bought—surprising for someone who can’t draw a straight line!
Upcycled wax decor is having a moment. Pinterest searches jumped 37% last year, proving its popularity. Whether you prefer bold patterns or delicate designs, there’s a technique for you.
Wax sheets and napkin transfers offer unique effects:
| Method | Best For | Time Needed |
|---|---|---|
| Wax Sheets | Geometric designs, vibrant colors | 20 minutes |
| Napkin Transfers | Detailed artwork, vintage looks | 30 minutes |
These pieces pull double duty. Use them as functional light sources or standalone decor. They’re perfect for dinner parties, fireplace mantels, or gift toppers.
Seasonal swaps keep your space fresh year-round. Think snowflakes in winter or florals for spring—no need to buy new items each time.
Materials You’ll Need for DIY Candle Makeovers
Gathering the right materials is the first step to crafting beautiful wax designs. Whether you’re working with sheets or napkins, having quality supplies ensures smooth edges and vibrant results. Below, we break down the essentials for each method.

Wax Sheet Decorations
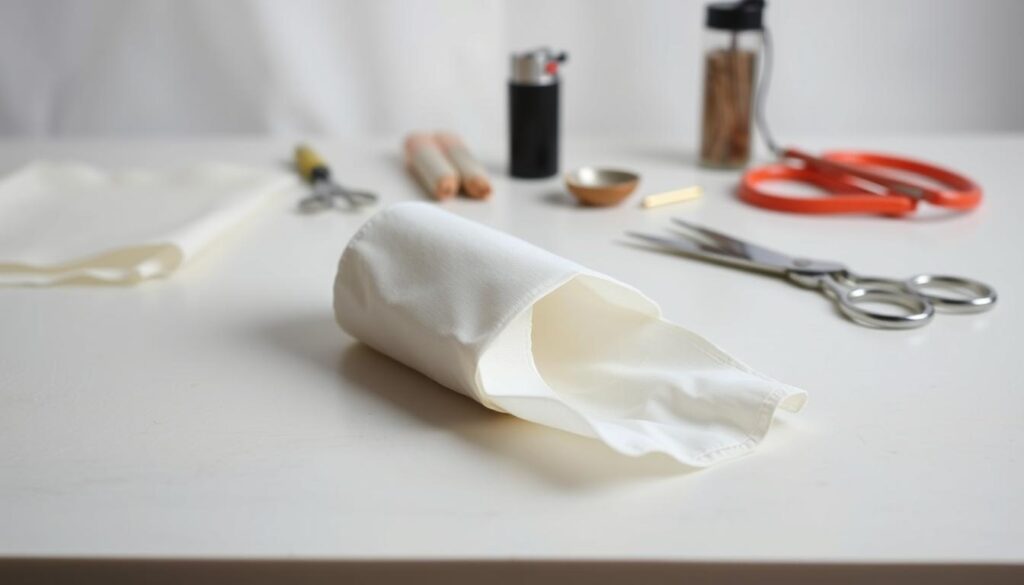
Colored wax sheets are the star here. Look for ones that are flexible but thick enough to hold their shape. A craft knife and self-healing cutting mat make clean cuts effortless.
Pro tip: Test a small piece first to check colorfastness when exposed to heat. Repurpose old pillar candles instead of buying new ones—just smooth the edges with a warm spoon.
Napkin Transfers
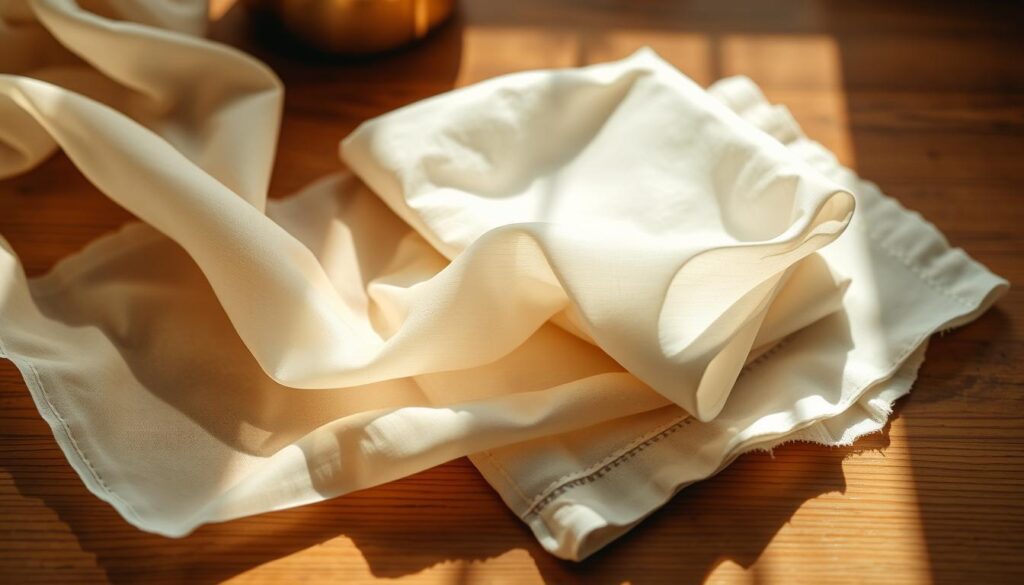
For this technique, 1-ply napkins with bold patterns work best. Separate the layers carefully to avoid tearing. You’ll also need wax paper and a hair dryer to set the design.
Safety first: Wear heat-resistant gloves when handling melted wax. Opt for napkins with high pattern density for a striking finish.
“A sharp craft knife is worth the investment—it turns tricky cuts into smooth, precise lines.”
- Specialty items: Self-healing mats protect surfaces and extend blade life.
- Budget hack: Use leftover gift wrap or tissue paper for practice runs.
Step-by-Step Candle Decorating Techniques
Ready to turn plain wax into eye-catching decor? These two methods deliver professional results with minimal effort. Follow along for crisp designs and flawless finishes.

Wax Sheet Cutouts
Start with a template. Trace shapes onto wax sheets using household items like cookie cutters or stencils. Flip the cutout before applying—this ensures clean edges.
Warm the candle slightly with a hairdryer. Press the sheet firmly to avoid air bubbles. For intricate designs, use a craft knife on a self-healing mat.
“Flipping the sheet hides pencil marks and gives a polished look.”
Napkin Transfer Art
Separate the patterned layer from 1-ply napkins. Place it on the candle and cover with wax paper. Melt the design using a hairdryer for 5–7 minutes.
Pro tip: Dab citrus oil on a cloth to dissolve excess wax. This trick removes residue without smudging.
| Method | Key Advantage | Drying Time |
|---|---|---|
| Wax Sheets | Sharp, geometric designs | Instant |
| Napkin Transfers | Detailed artwork | 5–7 minutes |
Combine both techniques for layered textures. Fix air bubbles in napkin transfers by reheating gently. These crafts adapt to any season—try holly leaves for winter or sunflowers for summer.
Creative Variations and Pro Tips
Take your candle designs to the next level with these creative twists. Whether you’re crafting for a holiday or refining your technique, these ideas add flair while keeping safety in mind.

Seasonal Themes
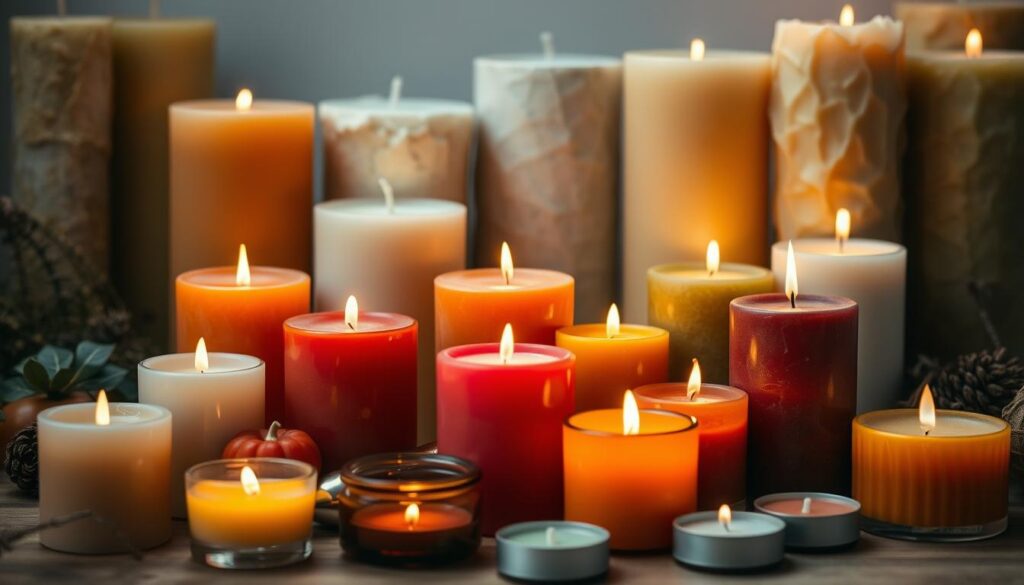
Autumn elegance: Press real leaves onto wax sheets for organic stencils. The veins create stunning, nature-inspired patterns. Swap colors for a rustic vibe—think burnt orange or deep burgundy.
Winter wonderland: Iridescent wax sheets mimic frost on glass. Layer them in geometric shapes for a modern twist. Add a touch of glitter for extra sparkle under holiday lights.
Safety Notes
Avoid napkin transfers on taper candles—heat can warp delicate designs. Always position wicks away from layered decorations to prevent uneven burning.
“Store wax sheets flat in a cool, dry place. Humidity causes warping, which affects cut precision.”
- Advanced touch: Blend colored wax sheets for ombré effects. Start with darker shades at the base.
- Quick fix: Use a hairdryer to smooth air bubbles in napkin transfers without smudging.
Conclusion
Small touches make a big impact on your space. With just wax sheets or napkins, you can create stunning pieces—no expertise needed. As one crafter put it: “If I can make mine look great, you can too.”
Share your creations with @therurallegend for inspiration. Upcoming trends like metallic wax sheets will add holiday sparkle. Always finish with a fire-resistant clear coat for safety.
Ready for a fun challenge? Try both methods side-by-side. Compare sharp geometric cuts with delicate napkin art. Which style suits your space best?


