Creating farmhouse-style shelves is a fun and rewarding DIY project that can add a touch of rustic charm to any room in your home. Whether you’re looking to enhance your living room, kitchen, or bedroom, these easy-to-follow instructions will guide you through the process.
With this DIY shelving tutorial, you’ll learn how to choose the right materials, assemble the shelves, and style them to fit your home decor. The best part is that you can customize the shelves to suit your needs and preferences, making it a truly personalized project.
By following these simple steps, you’ll be able to create beautiful and functional shelves that will enhance the aesthetic of your home.
The Charm of Farmhouse-Style Shelves
With their rustic appeal and versatility, farmhouse-style shelves are a popular choice among homeowners looking to enhance their living spaces. These shelves embody the essence of rustic farmhouse decor, bringing warmth and character to any room.
Farmhouse chic shelving has become a staple in modern home decor, and its popularity can be attributed to its ability to seamlessly blend with various decor styles. Whether you’re aiming for a vintage look or a more contemporary feel, farmhouse-style shelves can adapt to your aesthetic preferences.
What Makes Farmhouse Style So Popular
The farmhouse style has gained widespread acclaim due to its timeless appeal and the sense of coziness it brings to homes. This style is characterized by its use of natural materials, such as wood, and its emphasis on simplicity and functionality.
Benefits of Adding Farmhouse Shelves to Your Home
Adding farmhouse-style shelves to your home can have numerous benefits, including enhancing the aesthetic appeal of your living spaces and providing additional storage. These shelves can be used to display decorative items, store books, or showcase kitchenware, making them a versatile addition to any room.
Materials You’ll Need for Your DIY Project
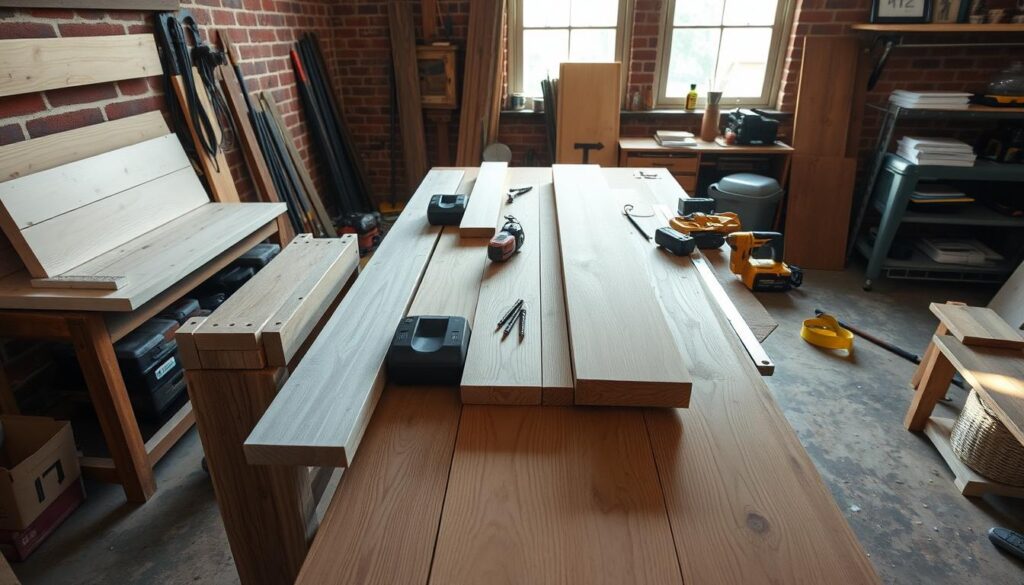
Embarking on a DIY shelving project requires careful planning and the right materials. To ensure your farmhouse-style shelves turn out as envisioned, it’s crucial to start with a well-prepared list of supplies.
Wood Selection Guide
Choosing the right wood is fundamental to your project’s success. Consider using reclaimed or barn wood for an authentic farmhouse look. Other options include pine, oak, or maple, depending on your desired aesthetic and budget. When selecting wood, think about the texture, color, and durability you need for your shelves.
Hardware and Fasteners
The hardware you choose can significantly impact the overall look and functionality of your shelves. You’ll need corbels or bracket supports to hold your shelves in place. Additionally, gather screws, nails, and any other fasteners required for assembling your shelf design.
Tools Checklist
Having the right tools on hand is just as important as having the right materials. Here’s a breakdown of what you’ll need:
Essential Tools
- Drill
- Sandpaper
- Saw (circular or handheld)
- Measuring tape
- Level
Optional Tools That Make the Job Easier
- Clamp
- Miter saw (for precise angled cuts)
- Power sander (for a smoother finish)
With these materials and tools, you’ll be well-prepared to tackle your DIY shelving tutorial and create beautiful wooden shelf designs that enhance your home.
Planning Your Farmhouse-Style Shelves
To ensure your DIY farmhouse shelves turn out as envisioned, careful planning is essential. This step is crucial for a successful step-by-step shelf building project.
Determining the Right Size and Placement
The first step in planning is to decide on the size and placement of your shelves. Consider the space where you intend to install the shelves and think about the items you plan to store on them. This will help you determine the optimal size and location.
Sketching Your Design
Once you have an idea of the size and placement, sketch out your design. This doesn’t have to be a professional drawing; a simple sketch will help you visualize your project. Consider the style and design elements that fit with your farmhouse decor.
Measuring and Marking Your Space
Accurate measurements are critical for easy shelf installation. Measure the space where your shelves will go, taking note of any obstructions. Mark the spot where you plan to install the shelves, ensuring they will be level.
By following these planning steps, you’ll be well-prepared to move on to the building phase of your project, ensuring that your farmhouse shelves are both functional and beautiful.
Preparing Your Wood
Before assembling your wooden shelf designs, it’s essential to prepare your wood properly. This step is crucial for achieving a professional finish and ensuring your DIY farmhouse shelves are both durable and visually appealing.
Cutting the Boards to Size
The first step in preparing your wood is cutting the boards to the required size. Use a circular saw or a hand saw for this purpose. Measure twice and cut once to avoid any mistakes.
Sanding Techniques for a Smooth Finish
Sanding is a critical step that smooths out the wood surface, removing any splinters or rough edges. Start with a coarse-grit sandpaper (about 120-grit) and progress to finer grits (220-grit or higher) for a silky finish.
As noted by woodworking expert, Norm Abram, “Sanding is not just about smoothing the surface; it’s also about preparing it for the finish.”
“The key to a great finish is in the sanding. You can’t just slap on a finish and expect it to look great if the surface isn’t properly prepared.”
Creating Distressed Effects (Optional)
If you’re aiming for a rustic farmhouse decor look, consider distressing your wood. This involves creating artificial wear and tear to give your shelves a vintage appearance.
Techniques for Authentic-Looking Wear
There are several techniques to achieve a distressed look, including using a chain to create dents, or a hammer to make nail holes. You can also use sandpaper to wear down edges and corners.
Tools for Distressing
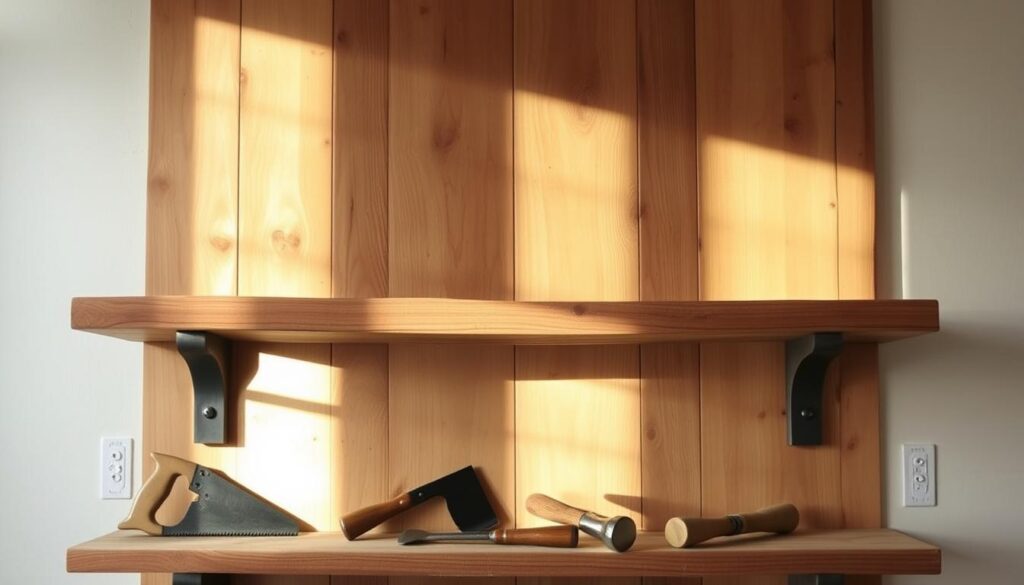
Common tools used for distressing include a hammer, chisel, and sandpaper. Experiment with different techniques to achieve the desired level of distressing.
| Tool | Use | Effect |
|---|---|---|
| Hammer | Creating dents and nail holes | Rustic, aged look |
| Chisel | Removing wood, creating edges | Distressed, worn appearance |
| Sandpaper | Smoothing, wearing down edges | Smooth, vintage finish |
By carefully preparing your wood, you’ll be able to create beautiful wooden shelf designs that add to your rustic farmhouse decor.
Building Farmhouse-Style Shelves: Step-by-Step Guide
Now that we have our materials ready, it’s time to dive into the step-by-step process of building your farmhouse-style shelves. This guide will walk you through assembling the shelf boards, creating bracket supports, and joining the components together.
Assembling the Shelf Boards
Begin by laying out your cut boards according to your design plan. Ensure that the edges are aligned properly and that the boards are free from any debris or dust. Use clamps to hold the boards in place temporarily.
Tip: Use a carpenter’s square to ensure the corners are perfectly square.
Creating Bracket Supports
Bracket supports are crucial for the stability of your shelves. Measure and mark the positions where the brackets will be attached, ensuring they are evenly spaced and aligned with the shelf edges.
Precision is key when creating bracket supports to avoid any instability in the shelves.
Joining Components Together
Joining the components together requires careful planning and execution. You can use various methods, including pocket holes and alternative joining techniques.
Using Pocket Holes
Pocket holes are a popular choice for joining wood because they provide a strong and discreet connection. Use a pocket hole jig to drill angled holes in the boards, then screw them together.
- Drill pocket holes in the designated areas.
- Apply wood glue for extra strength.
- Screw the boards together using the pocket holes.
Alternative Joining Methods
If pocket holes aren’t your preferred method, there are alternative techniques such as using dowels, biscuits, or even mortise and tenon joints. Each method has its own advantages and can be chosen based on your skill level and the tools you have available.
Regardless of the method you choose, ensure that the joints are tight and the shelves are level to guarantee stability and a professional finish.
Staining and Finishing Options
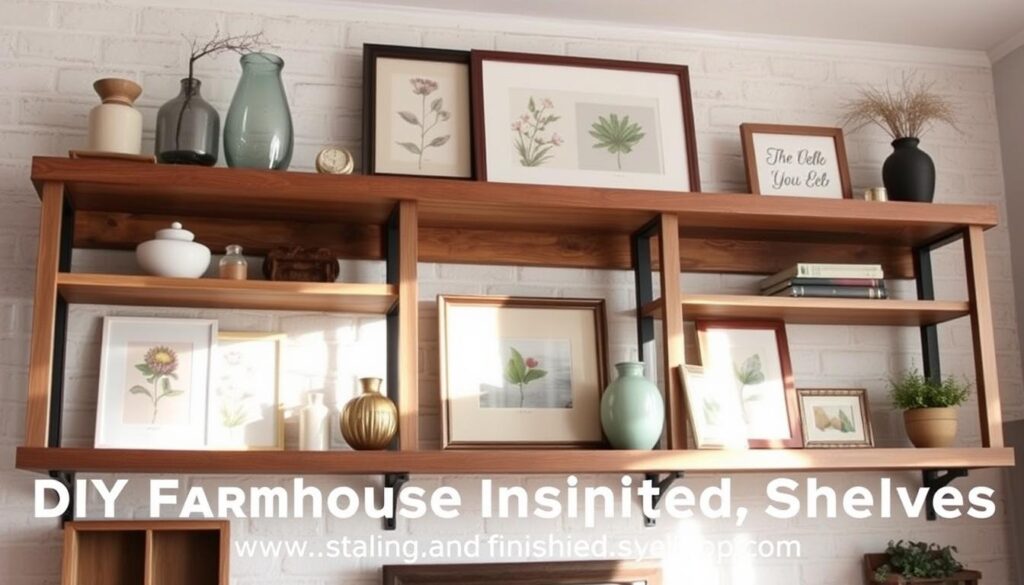
Selecting the ideal stain and finish for your DIY farmhouse shelves is a critical decision that impacts both appearance and durability. The right choice can enhance the farmhouse chic shelving look, making it a beautiful addition to your home. It’s a crucial step in completing your home improvement projects.
Choosing the Right Stain Color
The stain color you choose can significantly affect the overall aesthetic of your shelves. Consider the existing color palette in your room and the style you’re aiming to achieve. For a traditional farmhouse look, consider warm, earthy tones.
When selecting a stain, it’s also important to think about the type of wood you’re using. Different woods accept stain differently, so it may be necessary to test the stain on a sample piece first.
Application Techniques
The method you use to apply the stain can also impact the final result. Common techniques include using a brush, cloth, or foam applicator. Regardless of the method, always work in the direction of the wood grain to achieve a smooth, even finish.
Sealing for Longevity
After staining, applying a finish is crucial for protecting your shelves and ensuring they last for years to come. The choice between water-based and oil-based finishes depends on several factors, including durability, drying time, and the desired sheen.
Water-Based vs. Oil-Based Finishes
Water-based finishes are known for their quick drying time and low odor, making them a convenient choice for many DIY enthusiasts. On the other hand, oil-based finishes offer superior durability and a rich, warm glow, but they take longer to dry and have stronger fumes.
Ultimately, the choice between water-based and oil-based finishes will depend on your specific needs and preferences. Consider factors such as the amount of wear and tear your shelves will endure, as well as any local regulations regarding VOCs (Volatile Organic Compounds).
Installing Your Farmhouse Shelves
Installing your DIY farmhouse shelves is the final step in bringing your project to life. This crucial phase requires attention to detail to ensure your shelves are both functional and secure.
Finding Wall Studs
To securely install your farmhouse shelves, you need to locate the wall studs. This is crucial because studs provide the necessary support to hold the weight of the shelves and their contents. You can use a stud finder, a simple tool that detects the density of the wall material behind it, indicating the presence of a stud.
Once you’ve located the studs, mark their positions with a pencil. This will guide you in placing the mounting brackets for your shelves, ensuring they’re anchored to the wall securely.
Proper Mounting Techniques
The method you use to mount your shelves to the wall is critical for their stability. Use sturdy brackets that are designed for the type of wall you have (drywall, plaster, etc.). For heavy-duty shelves, consider using screws that are long enough to penetrate through the drywall and into the studs.
Always predrill holes for the screws to avoid splitting the wood or damaging the wall. This step is essential for a clean and secure installation.
Ensuring Level Installation
A level is an indispensable tool when installing shelves. It ensures that your shelves are perfectly horizontal, preventing items from sliding off and maintaining the aesthetic appeal of your installation.
Place the level on top of the shelf after you’ve mounted it to the wall but before you fully tighten the screws. Make any necessary adjustments to achieve a level position, then secure the shelf in place.
Tips for Heavy-Duty Support
For shelves that will bear significant weight, consider additional support measures. Using multiple brackets or thicker, heavier-duty brackets can provide the extra support needed.
It’s also wise to consider the type of wall anchors you use. For particularly heavy loads, toggle bolts or molly bolts offer superior holding power compared to standard wall anchors.
| Installation Component | Purpose | Recommendation |
|---|---|---|
| Wall Studs | Provide primary support | Use a stud finder to locate |
| Mounting Brackets | Anchor shelves to wall | Choose sturdy, appropriate type |
| Level | Ensure proper alignment | Use during installation |
| Wall Anchors | Enhance holding power | Toggle or molly bolts for heavy loads |
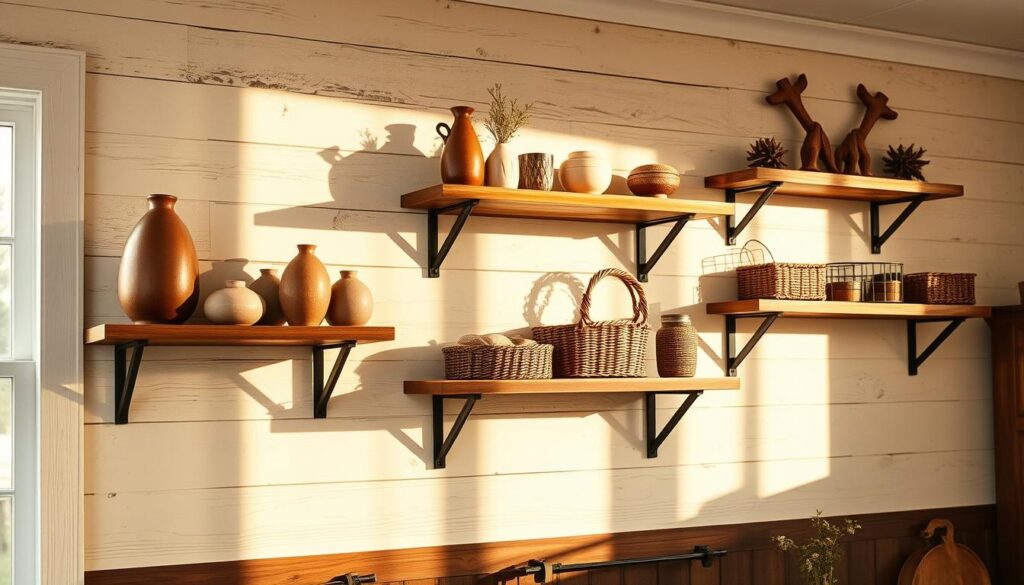
By following these guidelines, you can ensure that your farmhouse shelves are installed securely and level, providing a beautiful and functional storage solution for your home.
Styling Your New Farmhouse Shelves
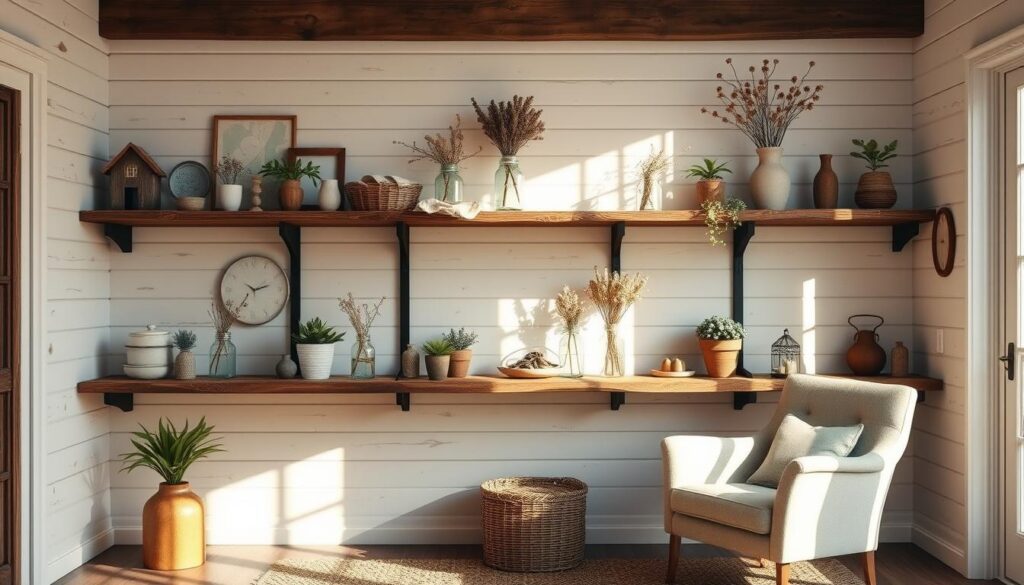
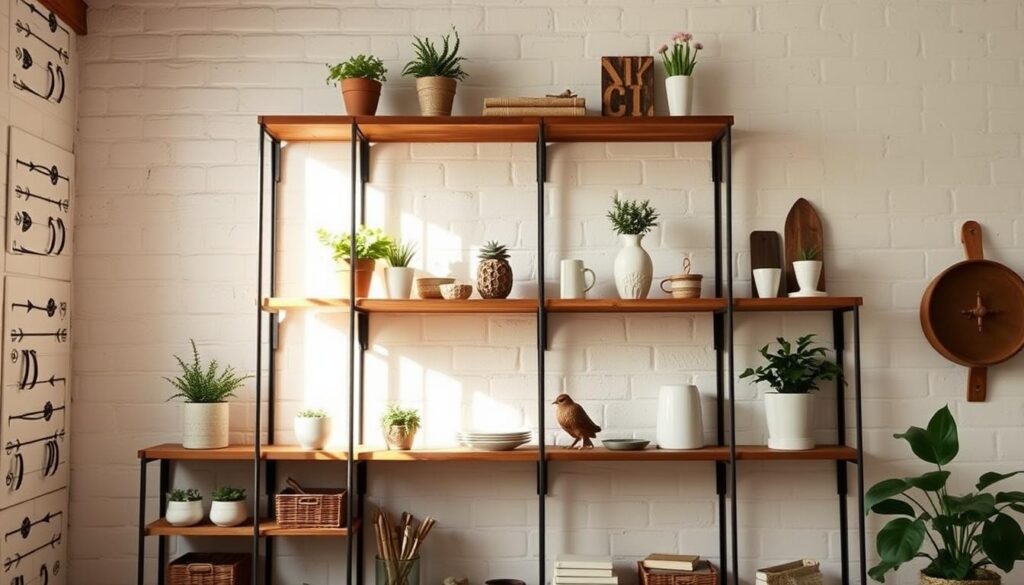
Styling your farmhouse shelves is where you get to add your personal touch and make them truly shine. With your new shelves in place, you can now display your favorite decorative items, cookbooks, or family heirlooms, adding a layer of warmth and character to your home.
Decor Ideas That Complement the Farmhouse Look
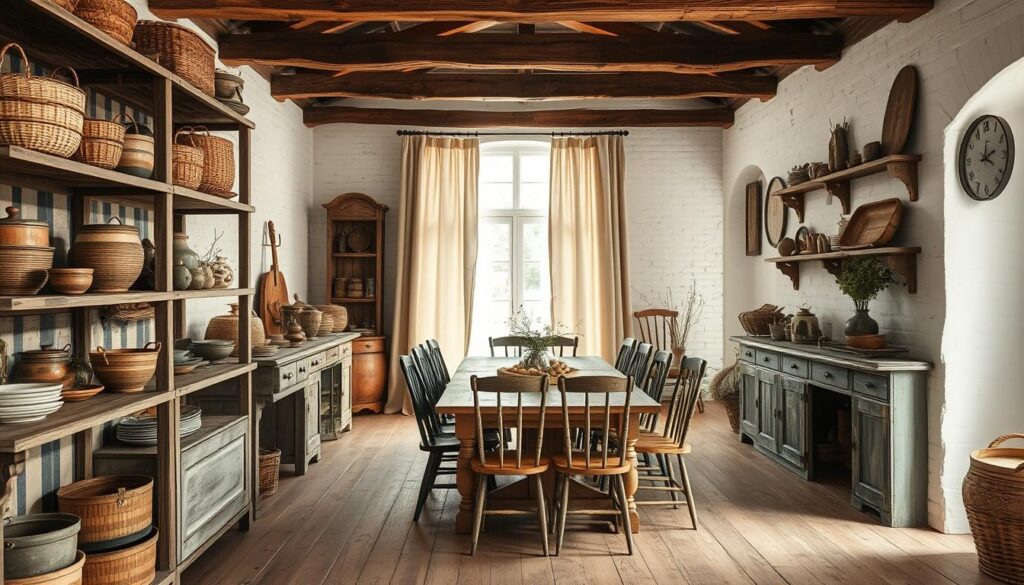
To enhance the rustic farmhouse decor, consider displaying items that have a vintage or natural appeal. This could include antique jars, woven baskets, or vintage metalware. Mixing textures and materials can add depth and visual interest to your farmhouse-style shelves.
For a cohesive look, incorporate elements that reflect your personal style or the theme of your home. For example, if you have a coastal-themed kitchen, you might display nautical-themed items or shells collected from your favorite beach.
Balancing Form and Function
While aesthetics are important, it’s equally crucial to balance form with function. Ensure that your farmhouse-style shelves remain practical by allocating space for storing essential items. This might mean reserving lower shelves for frequently used items and using upper shelves for decorative pieces.
Seasonal Styling Tips
To keep your shelves looking fresh and engaging, consider updating your decor seasonally. For example, in the fall, you might display pumpkins, dried corn, or warm-toned candles. In the spring, you could showcase floral arrangements, pastel-colored eggs, or other seasonal items that reflect the time of year.
| Season | Decor Ideas |
|---|---|
| Spring | Floral arrangements, pastel-colored eggs, greenery |
| Summer | Seashells, driftwood, nautical-themed items |
| Fall | Pumpkins, dried corn, warm-toned candles |
| Winter | Evergreen branches, pinecones, holiday-themed decor |
Customization Ideas and Variations
The true charm of DIY projects lies in their customizability, so let’s dive into some exciting ideas for your farmhouse shelves. Customizing your wooden shelf designs can make them truly unique and tailored to your home decor.
Adding Metal Accents
One way to give your farmhouse shelves a personalized touch is by adding metal accents. This could be in the form of decorative brackets, metal straps, or even metal mesh panels. These elements not only add a touch of industrial chic but also provide additional support and stability to your shelves.
Incorporating Pipe Fittings
For a more rustic or industrial look, consider incorporating pipe fittings into your shelf design. This can include using pipes as brackets or creating a unique shelving unit that resembles plumbing fixtures. It’s a creative way to add character to your DIY shelving tutorial project.
Creating Corner Shelves
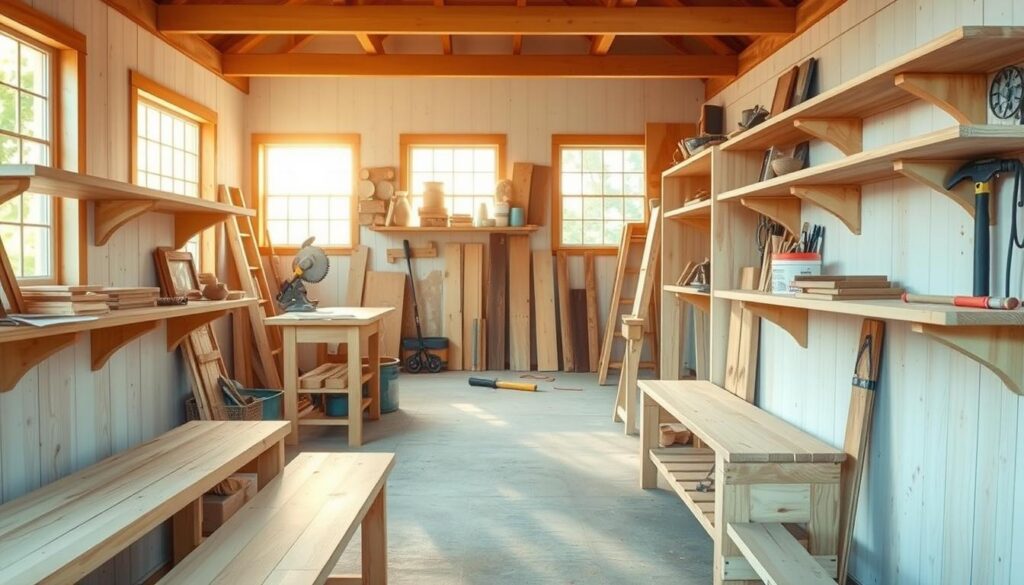
Corner shelves are a great way to maximize space in your home while maintaining the farmhouse aesthetic. By designing shelves that fit snugly into corners, you can create a cozy nook or display area that adds to the overall ambiance of the room.
Floating Shelf Alternatives
If you’re looking for alternatives to floating shelves, consider designing shelves with visible brackets or supports. This not only adds to the rustic charm but also provides an opportunity to get creative with the design of the brackets themselves. You can use materials like reclaimed wood or metal to create unique and functional shelf supports.
By exploring these customization ideas, you can ensure that your farmhouse shelves are not only functional but also a reflection of your personal style. Whether you’re going for a rustic, industrial, or modern farmhouse look, the key is to have fun and be creative with your DIY shelving project.
Maintenance and Care for Your Farmhouse-Style Shelves
The charm of farmhouse-style shelves can be preserved with proper care and maintenance. As a part of your home improvement projects, these shelves not only add a rustic touch but also provide functional storage. Ensuring they remain in good condition is crucial for their longevity and continued aesthetic appeal.
Regular Cleaning Practices
Regular dusting is essential to prevent the buildup of dust and debris on your shelves. Use a soft, dry cloth to wipe down the shelves, and for more stubborn stains, a damp cloth can be used. Avoid harsh chemicals that might damage the finish.
Touching Up Wear and Tear
Over time, your farmhouse-style shelves may show signs of wear. Touching up these areas can be done with a stain that matches the original finish. For minor scratches, a wood touch-up marker can be effective.
When to Refinish
If your shelves have undergone significant wear or the finish has degraded, it might be time to refinish them. This process involves sanding down the existing finish, applying a new stain, and sealing it. For an easy shelf installation that looks like new, refinishing can be a cost-effective alternative to replacement.
| Maintenance Task | Frequency | Tools Needed |
|---|---|---|
| Dusting | Weekly | Soft cloth |
| Touching up scratches | As needed | Wood touch-up marker, matching stain |
| Refinishing | Every 5-10 years | Sander, new stain, sealant |
Conclusion
With these easy-to-follow instructions on how to build farmhouse shelves, you can now create beautiful, functional storage that adds a touch of rustic charm to any room. By following the steps outlined in this guide, you’ll be able to craft farmhouse chic shelving that not only enhances your home’s aesthetic but also provides ample space for displaying your favorite decorative pieces.
The beauty of DIY farmhouse shelves lies in their customizability. Feel free to experiment with different wood finishes, bracket styles, and decorative elements to create a look that’s uniquely yours. Whether you’re looking to add a touch of warmth to your living room or create a cozy reading nook, farmhouse-style shelving is the perfect solution.
Now that you’ve learned how to build farmhouse shelves, get creative and start building your own unique shelving unit today. With a little patience and some basic DIY skills, you can bring the charm of farmhouse chic into your home and enjoy the perfect blend of form and function.


