Giving old furniture a new life is a great way to reduce waste and create unique pieces for your home. With a little creativity, you can breathe new life into discarded items and turn them into functional works of art.
From turning an old dresser into a kitchen island to transforming a vintage chair into a plant stand, the possibilities are endless. In this article, we’ll explore three stunning DIY transformations that will inspire you to upcycle old furniture and give it a new purpose.
Key Takeaways
- Discover how to give old furniture a new life with creative DIY projects.
- Learn how to transform old items into functional and unique pieces.
- Get inspired by three stunning DIY transformations featured in this article.
- Explore the benefits of upcycling old furniture and reducing waste.
- Find out how to turn discarded items into works of art.
The Art of Furniture Upcycling
Upcycling furniture is a creative way to breathe new life into old, forgotten pieces, reducing waste and promoting sustainability. This practice not only gives old furniture a new purpose but also adds a personal touch to home decor.
What Makes Upcycling Different from Recycling
While both upcycling and recycling aim to reduce waste, they differ in their approach. Recycling involves breaking down materials to create new products, often losing the original item’s integrity. In contrast, upcycling transforms the original piece into something new without degrading its material. For instance, turning an old ladder into a bookshelf is a form of upcycling that retains the ladder’s essence while giving it a new function.
Environmental Benefits of Furniture Upcycling
Furniture upcycling offers several environmental benefits, including reducing landfill waste and conserving resources. By giving new life to old furniture, we decrease the demand for new raw materials and minimize the environmental impact associated with manufacturing new furniture. Additionally, upcycling encourages creativity and sustainability, promoting a culture of reuse and reduction.
| Environmental Benefits | Description |
|---|---|
| Reduces Landfill Waste | Gives old furniture a new life, reducing the amount of waste sent to landfills. |
| Conserves Resources | Decreases the demand for new raw materials, thus conserving natural resources. |
| Minimizes Environmental Impact | Reduces the environmental footprint associated with producing new furniture. |
Essential Tools and Materials for Furniture Upcycling
The art of upcycling old furniture into new, functional pieces begins with the right equipment and supplies. Having the correct tools and materials not only makes the process smoother but also ensures a professional finish.
Basic Tools Every DIYer Should Have
To start your furniture upcycling project, you’ll need some basic tools. These include a hammer, tape measure, sandpaper, and a screwdriver set. Investing in quality tools will make a significant difference in the outcome of your project. As Bob Vila once said, “The right tool for the job can make all the difference.” A drill and a set of drill bits are also essential for making precise holes and driving screws.
- Hammer
- Tape measure
- Sandpaper
- Screwdriver set
- Drill and drill bits
Eco-Friendly Materials to Consider
When it comes to materials, opting for eco-friendly choices can enhance the sustainability of your furniture makeover ideas. Consider using reclaimed wood, eco-friendly paints, and natural finishes. These materials not only reduce environmental impact but also add a unique touch to your pieces. As noted by environmental experts, “Using sustainable materials in home decor is a significant step towards reducing our ecological footprint.”
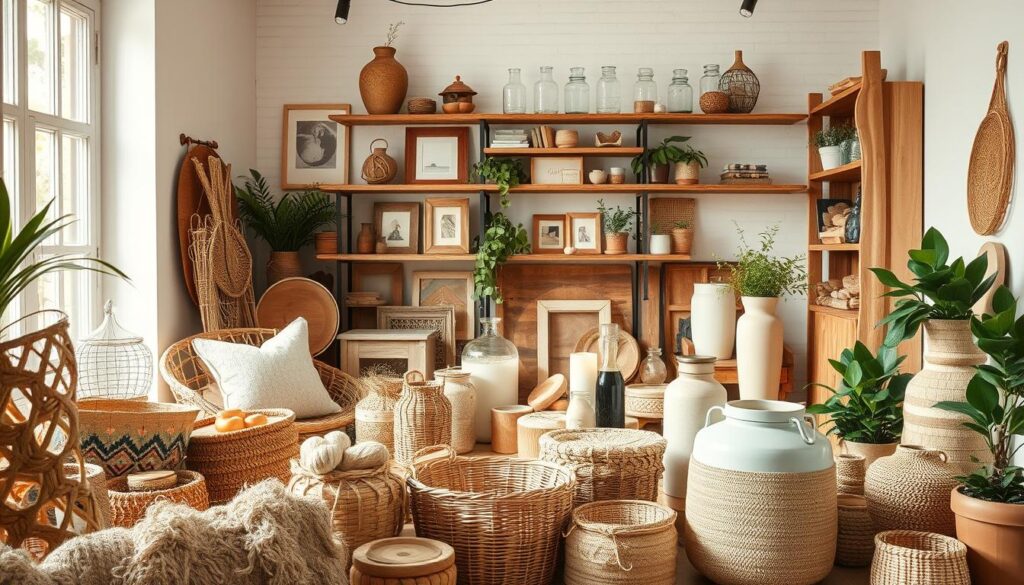
By combining the right tools with eco-friendly materials, you can create beautiful, sustainable home decor that reflects your personal style. Whether you’re transforming an old dresser into a kitchen island or turning a vintage chair into a plant stand, the key to success lies in the preparation and the materials you choose.
Preparing Your Furniture for Transformation
The key to successful vintage furniture upcycling lies in thorough preparation. Before you begin transforming your old furniture into something new and unique, it’s crucial to assess, clean, strip, and repair it.
Assessing Your Piece: What to Look For
When assessing your furniture, look for signs of wear, damage, or needed repairs. Check for sturdy frames, intact joints, and the overall condition of the surface. Consider the potential for upcycling and the materials you’ll need.
Cleaning and Stripping Techniques
Effective cleaning and stripping are vital for a successful upcycle. Use eco-friendly cleaning products and techniques to remove dirt and grime. For stripping old finishes, consider using natural strippers or sanding to reveal the original surface.
| Technique | Description | Eco-Friendliness |
|---|---|---|
| Sanding | Removes old finish and smooths surface | High |
| Chemical Stripping | Removes old finish quickly | Low |
| Natural Strippers | Removes old finish without harsh chemicals | High |
Repairing Common Furniture Issues
Common issues like loose joints, scratches, or dents can be repaired using eco-friendly furniture hacks. Use natural materials like wood glue, beeswax, or eco-friendly fillers to restore your furniture to its former glory.
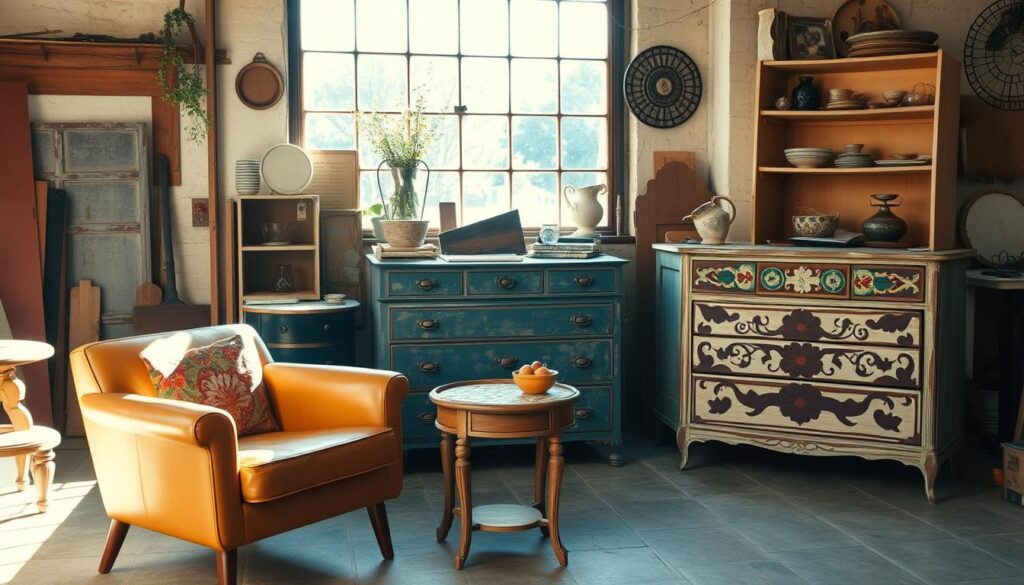
By following these steps and using eco-friendly methods, you can successfully prepare your furniture for upcycling, giving it a new life while being kind to the environment.
Project 1: Vintage Dresser to Modern Kitchen Island
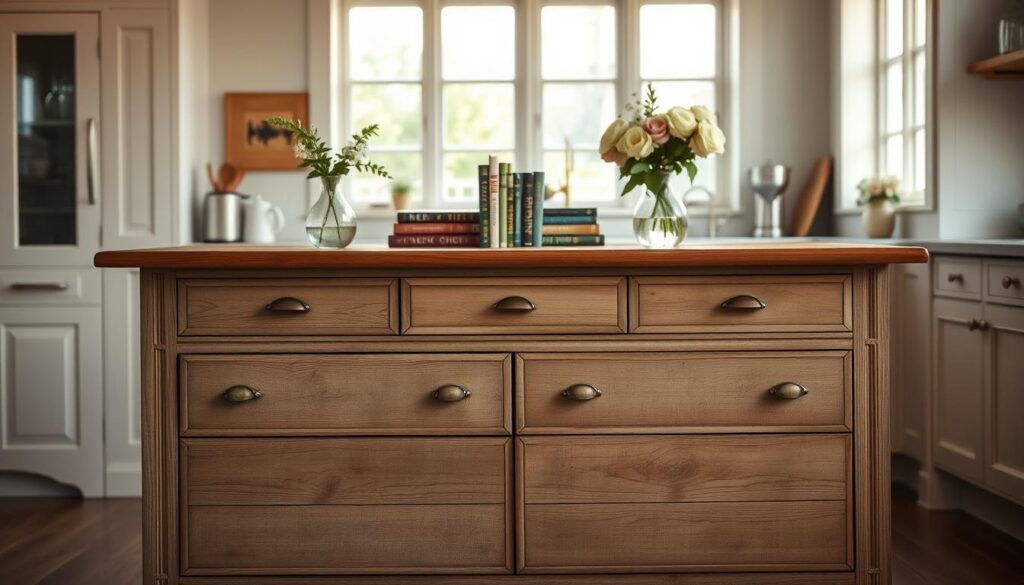
Breathe new life into an old dresser by converting it into a functional kitchen island. This DIY furniture project not only gives new purpose to an otherwise discarded piece of furniture but also adds a unique element to your kitchen.
Materials and Tools Needed
To successfully upcycle old furniture like a vintage dresser, you’ll need the following materials and tools:
- A vintage dresser in good condition
- Butcher block countertop
- Caster wheels
- Decorative hardware
- Sandpaper and paint or stain (optional)
- Power drill and bits
- Saw (for cutting countertop to size)
Step-by-Step Transformation Process
Preparing the Dresser Structure
Begin by assessing the dresser’s structure. Remove all drawers and hardware. Sand the entire piece to smooth out any rough surfaces.
Adding a Butcher Block Countertop
Measure the top of the dresser and cut the butcher block to size. Attach it using screws or adhesive, ensuring a secure fit.
Installing Caster Wheels and Hardware
For mobility, attach caster wheels to the bottom of the dresser. Replace or update the hardware to give your kitchen island a modern look.
Finishing Touches and Sealing
Apply a finish to protect the wood and enhance the appearance. Seal the countertop to make it more durable.
Styling Your New Kitchen Island
Once your kitchen island is complete, style it with kitchen essentials, such as a mixer, cookbooks, or a fruit bowl, to make it a functional and inviting part of your kitchen.
By following these steps, you can successfully upcycle old furniture into a beautiful and functional piece that adds character to your home.
Project 2: Old Wooden Chair to Stylish Plant Stand
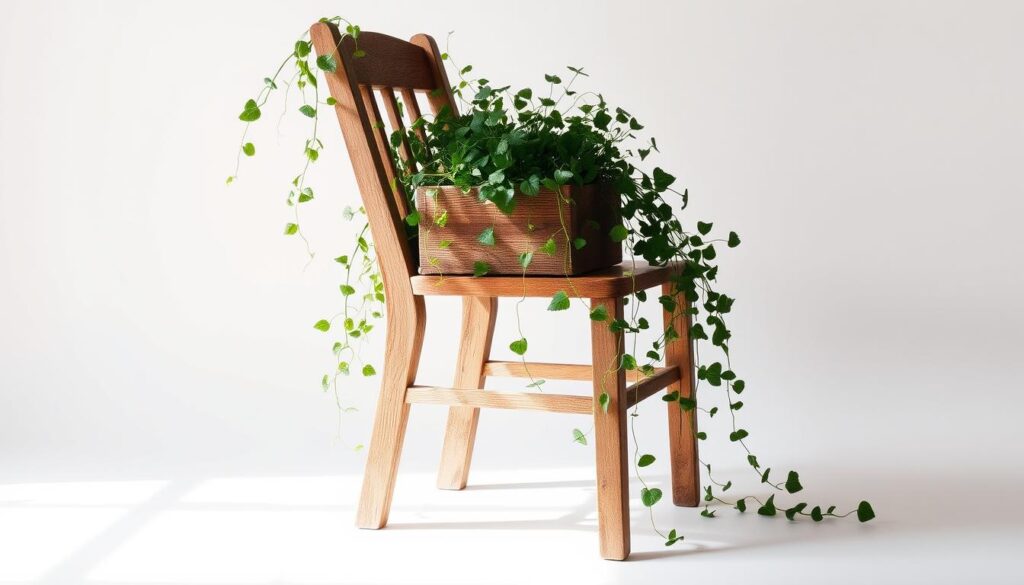
Discover how to transform an old, worn-out wooden chair into a unique plant stand that brings character to any room. This creative repurposing idea not only gives new life to discarded furniture but also adds a touch of greenery to your home decor.
Materials and Tools Needed
To start your furniture renovation project, you’ll need the following materials and tools:
- Old wooden chair
- Paint or varnish
- Paintbrushes
- Decorative items (optional)
- Plant pots and plants
- Screwdriver or drill
- Sandpaper
Having these materials ready will make the transformation process smoother and more enjoyable.
Step-by-Step Transformation Process
The transformation involves several key steps, starting with preparing and reinforcing the chair.
Preparing and Reinforcing the Chair
Begin by cleaning the chair thoroughly to remove any dirt or grime. Inspect the chair for any loose joints or damaged parts and reinforce them as needed. Sanding the surface will help prepare it for painting or varnishing.
Creating the Multi-Tiered Plant Holder
To create a multi-tiered plant holder, you can attach wooden planks or trays to the chair’s seat or backrest. Ensure they are securely attached using screws or nails. This will provide multiple levels for your plants, adding visual interest to your plant stand.
Painting and Decorative Techniques
Apply a fresh coat of paint or varnish to the chair to revitalize its appearance. You can choose colors that match your home decor or go for a bold, contrasting look. Additional decorative elements like ribbons, stickers, or decoupage can further personalize your plant stand.
Display Ideas for Your New Plant Stand
Once your plant stand is ready, you can style it in various ways to enhance your home decor. Place it in a sunny corner and fill it with a variety of plants, such as ferns, succulents, or flowering plants. You can also mix and match planters of different sizes and shapes to create a visually appealing display.
Consider positioning your plant stand near a window or in a cozy reading nook to add a touch of nature and serenity to the space.
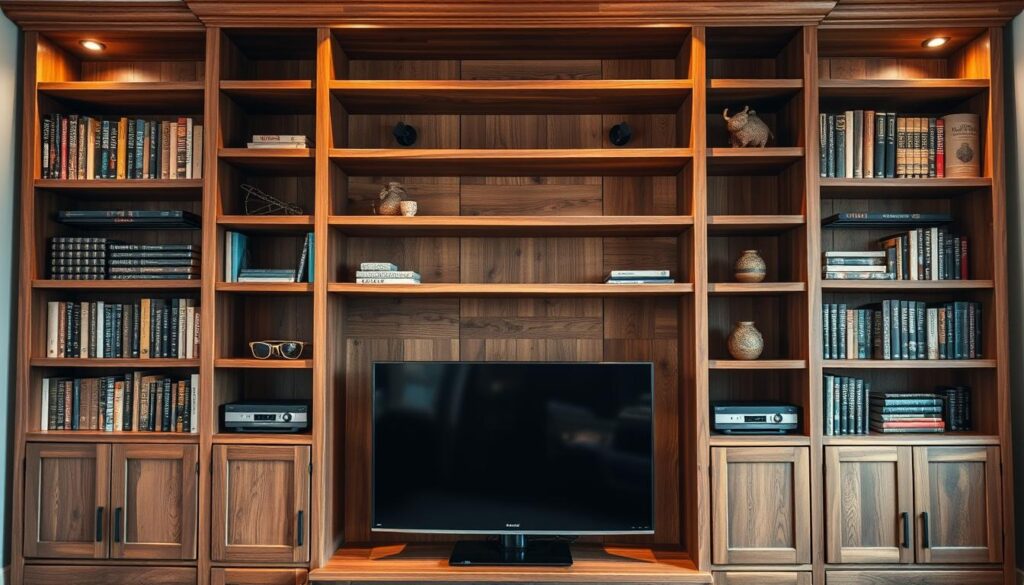
Project 3: Outdated Bookshelf to Custom Entertainment Center
Revamp your home entertainment system with a custom-built entertainment center made from an outdated bookshelf. This project not only gives new life to old furniture but also contributes to sustainable home decor by reducing waste.
Materials and Tools Needed
To begin this furniture makeover, you’ll need the following materials and tools:
- Outdated bookshelf
- Sandpaper and paint or varnish
- Drill and screws
- Cable management solutions (cable ties, cord organizers)
- Decorative items (optional)
Step-by-Step Transformation Process
Preparing and Reinforcing the Bookshelf
Start by cleaning and assessing the bookshelf’s structure. Sand down the surface to prepare it for painting or varnishing. If necessary, reinforce the shelves with additional brackets to support the weight of media equipment.
Modifying the Structure for Media Equipment
Measure your media equipment (TV, sound system, gaming console) and adjust the shelves accordingly. You may need to remove or add shelves to accommodate your devices.
“The key to a successful upcycle is to envision the potential in the old piece and be willing to make significant changes.” –
Adding Cable Management Solutions
To keep your entertainment center organized, incorporate cable management solutions. Use cable ties and cord organizers to hide unsightly cables and wires.
Finishing and Styling Your Entertainment Center
Apply a fresh coat of paint or varnish to match your living room decor. Add decorative items such as plants or sculptures to give your entertainment center a personalized touch.
Integrating Your Entertainment Center into Your Living Space
Once your entertainment center is complete, integrate it into your living room by arranging your media equipment and decorative items thoughtfully. Ensure that it complements your existing sustainable home decor and enhances the overall ambiance of the room.
By following these steps, you can create a unique and functional entertainment center that not only serves as a focal point in your living room but also reflects your commitment to sustainable living.
Upcycle Old Furniture: 3 Projects to Try for Beginners
Beginners can easily dive into the world of furniture upcycling with simple, fun projects that require minimal tools and expertise. Upcycling old furniture not only gives new life to discarded pieces but also contributes to a more sustainable lifestyle. By choosing to upcycle, you’re participating in eco-friendly furniture hacks that reduce waste.
Simple Weekend Makeover Projects
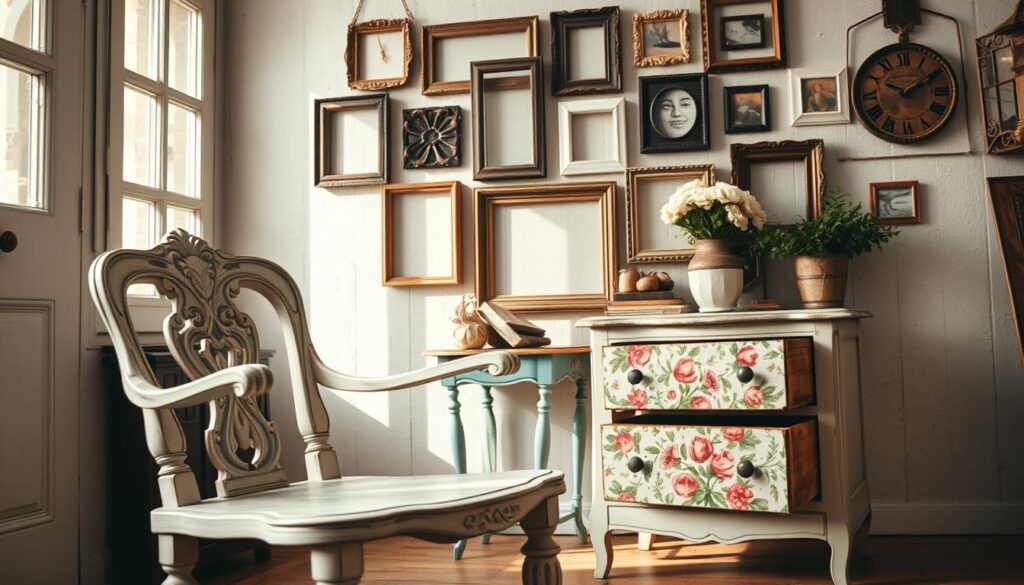
Simple weekend makeover projects are perfect for beginners. Consider giving an old dresser a fresh coat of paint or updating the hardware for a modern look. You can also transform an outdated nightstand into a stylish bathroom vanity with some creativity and basic tools.
Here are a few ideas to get you started:
- Painting or restaining wooden furniture
- Replacing outdated hardware with modern knobs or handles
- Adding decorative trim or molding to enhance the piece’s character
No-Power-Tools-Required Upcycling Ideas
No-power-tools-required upcycling ideas are ideal for those who are just starting out or prefer hand-tool techniques. You can give new life to vintage furniture by applying a simple wax finish or reupholstering a chair with fresh fabric. These projects allow you to practice your skills without investing in power tools.
| Project | Tools Needed | Skill Level |
|---|---|---|
| Vintage Chair Reupholstering | Hand stapler, fabric, scissors | Beginner |
| Wax Finish Application | Wax, cloth, gloves | Beginner |
| Dresser Paint Makeover | Paint, brushes, sandpaper | Beginner |
By starting with these simple projects, you’ll gain confidence and develop the skills needed to tackle more complex upcycling tasks. Remember, the key to successful upcycling is creativity and patience.
Troubleshooting Common Furniture Makeover Challenges
As you embark on a furniture makeover, you might face a few hurdles that require troubleshooting. Whether you’re upcycling old furniture or working on a DIY furniture project, challenges like stubborn finishes, structural problems, or unrealistic expectations can arise.
Dealing with Stubborn Finishes and Veneers
Removing old finishes and veneers can be a daunting task. Using chemical strippers or sanding techniques can help. For instance, applying a chemical stripper can loosen the old finish, making it easier to scrape off. Alternatively, sanding can be effective, especially for smaller areas.
Tips for Removing Stubborn Finishes:
- Apply chemical stripper according to the manufacturer’s instructions.
- Use a scraper or sandpaper to remove the old finish.
- Wear protective gear, including gloves and goggles.
Fixing Structural Problems Mid-Project
Identifying and fixing structural issues is crucial to the success of your DIY furniture project. Common problems include loose joints and damaged legs. Reinforcing joints with glue and reattaching or replacing damaged parts can salvage your project.
| Issue | Fix |
|---|---|
| Loose Joints | Reinforce with glue and clamp |
| Damaged Legs | Reattach or replace |
| Old Finish | Chemical stripper or sanding |
When to Abandon vs. Adapt Your Vision
Knowing when to adapt or abandon your project is key. If the issue is minor, adapting your vision might save the project. However, if the problem is significant, it might be more cost-effective to start over. Consider the cost of materials and time when making your decision.
Vintage Furniture Upcycling: Preserving Character While Modernizing
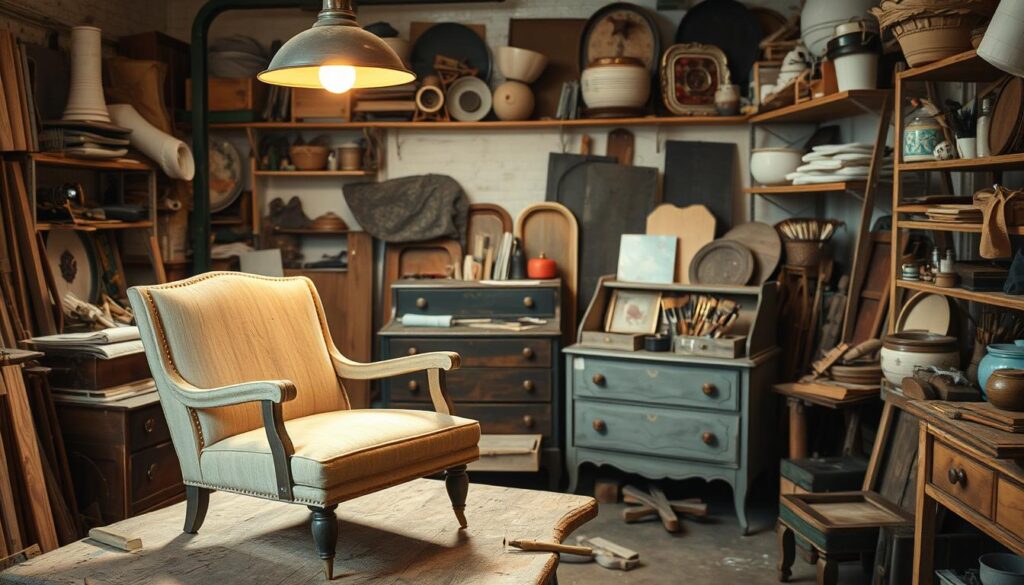
Upcycling vintage furniture is an art that requires a delicate balance between preserving its original character and modernizing its functionality. This process involves a thoughtful evaluation of the piece to determine which elements to retain, restore, or replace.
Identifying Valuable Vintage Elements to Keep
When upcycling vintage furniture, it’s crucial to identify the elements that make it valuable and worth preserving. These might include intricate carvings, unique hardware, or original finishes. Preserving these elements not only maintains the furniture’s historical integrity but also adds character to the upcycled piece. For instance, retaining the original wood grain or patina can add a layer of authenticity to the renovated furniture.
Blending Old and New Design Elements
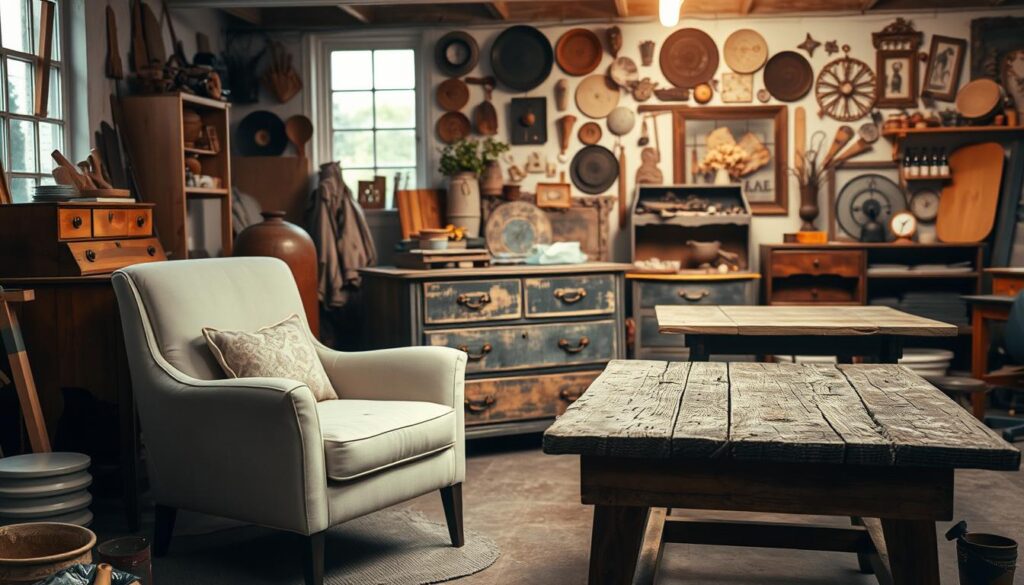
Blending old and new design elements is a key aspect of successful vintage furniture upcycling. This involves combining the original features of the piece with modern materials or design trends. By striking a balance between old and new, you can create a unique and functional piece that honors its heritage while serving contemporary needs. For example, pairing vintage wood with modern metal hardware or incorporating contemporary upholstery fabrics can refresh the look of the furniture while retaining its vintage charm.
Effective upcycling also involves creative repurposing ideas, such as transforming an old dresser into a kitchen island or converting a vintage door into a coffee table. These creative transformations not only give new life to old furniture but also contribute to sustainable living by reducing waste.
Conclusion
Upcycling old furniture is a creative way to give new life to pieces that would otherwise end up in landfills. With the right tools, materials, and inspiration, you can transform outdated furniture into stunning pieces that reflect your personal style.
We’ve explored various furniture makeover ideas, from turning vintage dressers into modern kitchen islands to converting old wooden chairs into stylish plant stands. These projects not only breathe new life into old furniture but also help reduce waste and promote sustainability.
As you embark on your own furniture upcycling journey, remember to assess your piece carefully, choose the right materials, and don’t be afraid to experiment with different techniques. With practice and patience, you’ll be creating beautiful furniture makeover ideas in no time.
So, take a closer look at that old piece of furniture in your attic or garage, and let your creativity shine. Start upcycling, and discover the joy of giving old furniture a new lease on life.


